Crab Apple Chutney

Leave a comment

When I was living my very busy life on the North Shore and in my fancy country houses, never in my wildest dreams did I ever think that one day I would be doing so much jam making and baking. For someone who likes to keep cooking simple, I amaze myself! But the reason, of course, is that we have six magnificent fruit trees, and there is no way in the world, I am going to waste the abundance of goodness they provide.

So today, I made Crab Apple Chutney. And it was exciting because I’ve never made it before. It is an easy recipe, but a nightmare prep ~ crab apples really are a nightmare to prepare. A few years back, I made crab apple sauce and swore I’d never core those teensy weensy apples ever again. But just have a look at what we picked ~ how could I ignore these beauties!

crab apples - cropped

Now I didn’t use them all ~ I simply didn’t have the energy to core the lot, so about half went back out to the birds, but what I did use made wonderful chutney. And here is my recipe.

Crab Apple Chutney

I specifically chose this recipe because I didn’t have to do any peeling ~ that would have tipped me over the edge! This chutney has a definite kick to it, and because it’s tart, I made some adjustments (as I always do with any recipe that comes my way), but it’s delicious!

Crab Apple and Plum Chutney

Ingredients: Makes 3 cups

  • 2 cups crab apples, quartered and cored (leave the skins on). You can replace with any apple, if you do not have access to crab apples.
  • 1/2 cup raisins
  • 1/2 cup chopped onions
  • 1/4 cup apple cider vinegar
  • 1/4 cup honey
  • 1 TBS grated orange peel
  • 1 TBS fresh ginger

Plus my additions at the end of cooking:

  • 1/4 cup brown sugar because it was very tart ~ if you use apples you may not need it.
  • 1/4 cup of sour plum jam for nice texture ~ I used my own plum jam

Method:

Combine all ingredients in a saucepan and stir well. Bring to a boil, reduce heat and simmer, covered for 50 minutes. Stir occasionally so it doesn’t burn. After 50 minutes, uncover and simmer a few more minutes over low heat, cooking off any excess liquid. Then stir in the brown sugar and sour plum jam and allow it to cool. It will keep covered for 2 weeks in the fridge. I froze it in small containers so I can take it out as I need it, but if you make a large batch a water bath canning method works well for preserving chutney.

If you make it, hope you enjoy it!

Inara Hawley © 2015

Who Needs a Thermomix ~ Making Plum Jam.

5 Comments

I received two jars of delicious Thermomix-made jam for Christmas. I know the Thermomix is a whiz-bang machine, and heaven knows it would have been a huge timesaver in my kitchen when I was working from dawn till midnight and didn’t have time to cook. I’m all too aware of how important it is to optimise time when one is busy, however, there is something very homely and purposeful about making jam the old fashioned way without any time constraints. So, inspired by the two jars of jam, the plum-laden fruit tree just outside our kitchen window, and the knowledge that I can do anything a Thermomix can do, I decided to make jam!

Sunday Musings - Making Plum Jam Sunday Musings - Plum Jam

Having never made ‘proper’ jam before (not on purpose anyway ~ occasionally my sweet sauces do get a bit jammy!), I did some leafing through old recipe books and online searches, and came up with this little gem of a recipe from NatashasKitchen.com, which I will call: Two-Day Plum Jam.

And so with Hubby’s help, the picking, washing, cutting and weighing began. I must say, it’s a very companionable job filled with heaps of anticipation. Making jam from scratch is hugely satisfying, especially from your own fruit trees … the scrubbing and chopping of luscious ripe fruit, the measuring of ingredients, getting out the huge pot, and then stirring, salivating and tasting as it bubbles away changing from plump pieces of fruit to a concentrated mix of rich flavour and aroma.

Sunday Musings - Plum JamSunday Musings - Plum JamNow this does take two days to make, but as it only requires a total of 40 minutes cooking time over those two days, it’s very easy and worth it just for the joy of the experience. As I have discovered in life, taking the time to do something unhurriedly and with purpose has a lot going for it. Many years ago when my father was growing vegetables we stood together at his kitchen bench while he was cutting his home-grown beans. He took each bean, and with great purpose, slowly cut off the top and bottom. I watched him for about 30 seconds, and then impatiently grabbed a handful and chopped off the tops and bottoms. He looked up at me and slowly said, “Insi Insi, you in a rush!” And he was right, I was! But I get it now Dad. By cutting his beans one by one, he was savouring the moment and appreciating the satisfaction of having lovingly planted, nurtured and picked every one of those little beans. He was taking his time and enjoying it, and in my rush, all I was doing was cutting beans. He clearly knew there was much to be gained by slowing down, being fully present in the moment, and appreciating what he was doing.

So now, here is the recipe:

Two-Day Plum Jam

Sunday Musings - Plum Jam

Sunday Musings - Plum JamIngredients:

  • 4 kg red ripe plums (or you can use peaches or apricots)
  • 4-6 cups of castor sugar, depending on the sweetness of the plums. In fact, you may even need more sugar. Plums are naturally on the tart side so keep adding until you are satisfied with the sweetness.
  • Note: If making peach jam using the same method (and it is delicious!) you will need 2.5 kg peaches to about 2-3 cups castor sugar

Method:

  1. Wash, pit and cut up the plums
  2. In a large bowl, place a layer of plums and sprinkle with sugar. Repeat the process with all the plums and sugar. Let them sit uncovered for about an hour so that the plums begin to create a sugary juice.
  3. Transfer the plums and the juice to a large cooking pot, and bring it to the boil uncovered, stirring occasionally until mixture is bubbling uniformly. Simmer for 10 minutes. Stir occasionally and scrape the bottom to ensure it doesn’t burn. Then turn off the heat. Allow the mixture to cool to room temperature.
  4. Now this is why it takes two days ~ you need to repeat Step 3 a minimum of four times ~ more if you want a thicker jam. Taste the mixture each time and add more sugar if required. On the final simmer, bring it to the boil on low to ensure it doesn’t burn and stir frequently.

Now all you have to do is prepare the jars and fill with your delicious jam. Not being one to make preserves or do any bottling, I don’t sterilize jars ~ too much fiddling around, and I don’t have the right jars anyway, so I freeze it … shock horror I hear all the purists say, but it works for me!

Sunday Musings - Plum Jam

And so the moral of the story is who needs a Thermomix when you can spend two delightful days making jam! Experiencing the joy of nature’s bounty and filling your kitchen with the sweet fragrance of delicious anticipation. It’s all about stretching the pleasure. When you are in that moment, it really doesn’t get any better than that. So if you’re in a rush, stop occasionally and appreciate the moments. It’s worth it.

Inara Hawley © 2015

With thanks for the original recipe from NatashasKitchen.com.

Hubby’s Apple Crumble Cake

Leave a comment

The birds are singing, the sun is shining and I’ve just made an Apple Crumble Cake for hubby. He’s had a bad week with a crook back and needed cheering up, so I decided a special sweet treat, over and above his daily fruit cake, was in order.

I’ve never made this before, and as is generally the case when I cook, I altered the recipe. It is meant to be a slice, but as it turned out quite crumbly, albeit light and moist, I’ve decided to call it an Apple Crumble Cake.

My sense of taste still isn’t right yet, particularly with anything that is sweet, so I can’t say with any honesty how good it is, but hubby is certainly enjoying it. He tells me it is the perfect afternoon tea treat ~ not too sweet and not too filling. Here’s the recipe:

Hubby’s Apple Crumble Cake

Sunday Musings ~ Apple Crumble Cake

Sunday Musings - Apple Crumble Cake Mix

Sunday Musings ~ Apple Crumble CakeSunday Musings - Apple Crumble Cake with Cream

Ingredients:

  • 2 cups self-raising flour
  • ¾ cup sugar ~ use a cup if you like it sweeter
  • 3 apples peeled and diced into 1-2cm cubes
  • 1 handful raisins soaked overnight in milk or fruit juice
  • 125 grams of melted butter or margarine
  • 1 cup of apple juice
  • 1 egg
  • Afterthought: cinnamon, which I didn’t add!

Method:
In a large bowl, mix the flour and sugar together. Add the melted butter, the apple juice, and the egg, and mix well. Add the diced apple and raisins, and mix until combined. Spoon into a greased and lined tin, press down, and sprinkle the top with a little sugar. Bake at 180C (170C fan forced) for 40 minutes until the top is golden brown and a skewer comes out clean. I covered it lightly with alfoil for the last 5 minutes as I didn’t want the top to burn. Serve it with whatever takes your fancy ~ cream, ice cream or custard.

Inara Hawley © 2014

Chicken Rissoles for the Soul

2 Comments

You’ve heard of Chicken Soup for the Soul, well last week I made Chicken Rissoles for the Soul.

I’ve spent the last month with the worst mouth, throat and chest infection I’ve had in years. Consequently, I haven’t been able to eat much, and when I did manage to get a mouthful down it tasted awful. I completely lost my sense of taste. Most of what I put in my mouth tasted bitter.

We all want comfort food when we’re not well, but because I couldn’t taste anything, there was very little that was giving me any pleasure. Food quickly became a very disagreeable and unpleasant experience. And as I’m a real foodie ~ I love the deliciousness of slowly, savouring every mouthful, I really missed it.

Every few days I’d try something new to see if my taste buds were back. The only thing I was managing was scrambled eggs and pears. But as luck would have it when I bit into one of my chicken rissoles ~ generally I stick to vegetarian food, but I was willing to try anything ~ I could actually taste it! Halleluiah! They became my only spot of food joy, and thank goodness for that, as it improved my cheerfulness no end!

So it seems my chicken rissoles did indeed turn out to be chicken rissoles for the soul. They gave me the comfort I needed for my weary body and turned grumpy old me into a much happier soul.

Inara’s Chicken Rissoles

Chicken Rissoles for tthe Soul - Sunday Musings

I must admit this recipe was made up on the spot from what I had in the fridge. The quantities are also from memory as I threw in a bit of this and a bit of that, which is pretty much how I cook most of the time anyway! This recipe makes about 20 large very delicious rissoles and generally lasts hubby a whole week! If you make them, I hope you enjoy them!

Ingredients:

  • 500 grams of raw chicken mince (free range for me)
  • 3 Cups of sweet potato mash
  • 1 Cup steamed and mashed cauliflower
  • 1 Leek quartered longways and sliced thinly
  • 1 Zucchini grated
  • 1 Carrot grated
  • I Large Egg
  • About 1-2 Cups of Breadcrumbs (gluten free for me)
  • Season with 2 dessertspoons of Marigold Swiss Vegan Bouillon Powder
  • Coconut Oil for sautéing and frying
  • Extra breadcrumbs for coating the rissoles

Method:
Mix the chicken mince, sweet potato, cauliflower, egg and seasoning together well, and enough breadcrumbs to firm up the mix. Sautee the leeks, zucchini and carrot till soft, and add to the mix. Taste for seasoning. Rissoles always need to be on the over-seasoned side when raw, so don’t think you are over doing it. Roll the mix into rissole-size balls, and then coat with the extra breadcrumbs. Melt the coconut oil in a large pan, slightly flatten the rissoles and brown them on both sides. Then turn down the heat, pop the lid on and cook for about 3 minutes until firm. Serve hot or cold.

Inara Hawley © 2014

Winter Cook-Ups

6 Comments

My hubby loves soup, especially when the weather is cold, so we have a lot of it in winter ~ almost every day in fact. But as the cook, what I love most about soup is being able to make a huge pot which will last for most of the week.

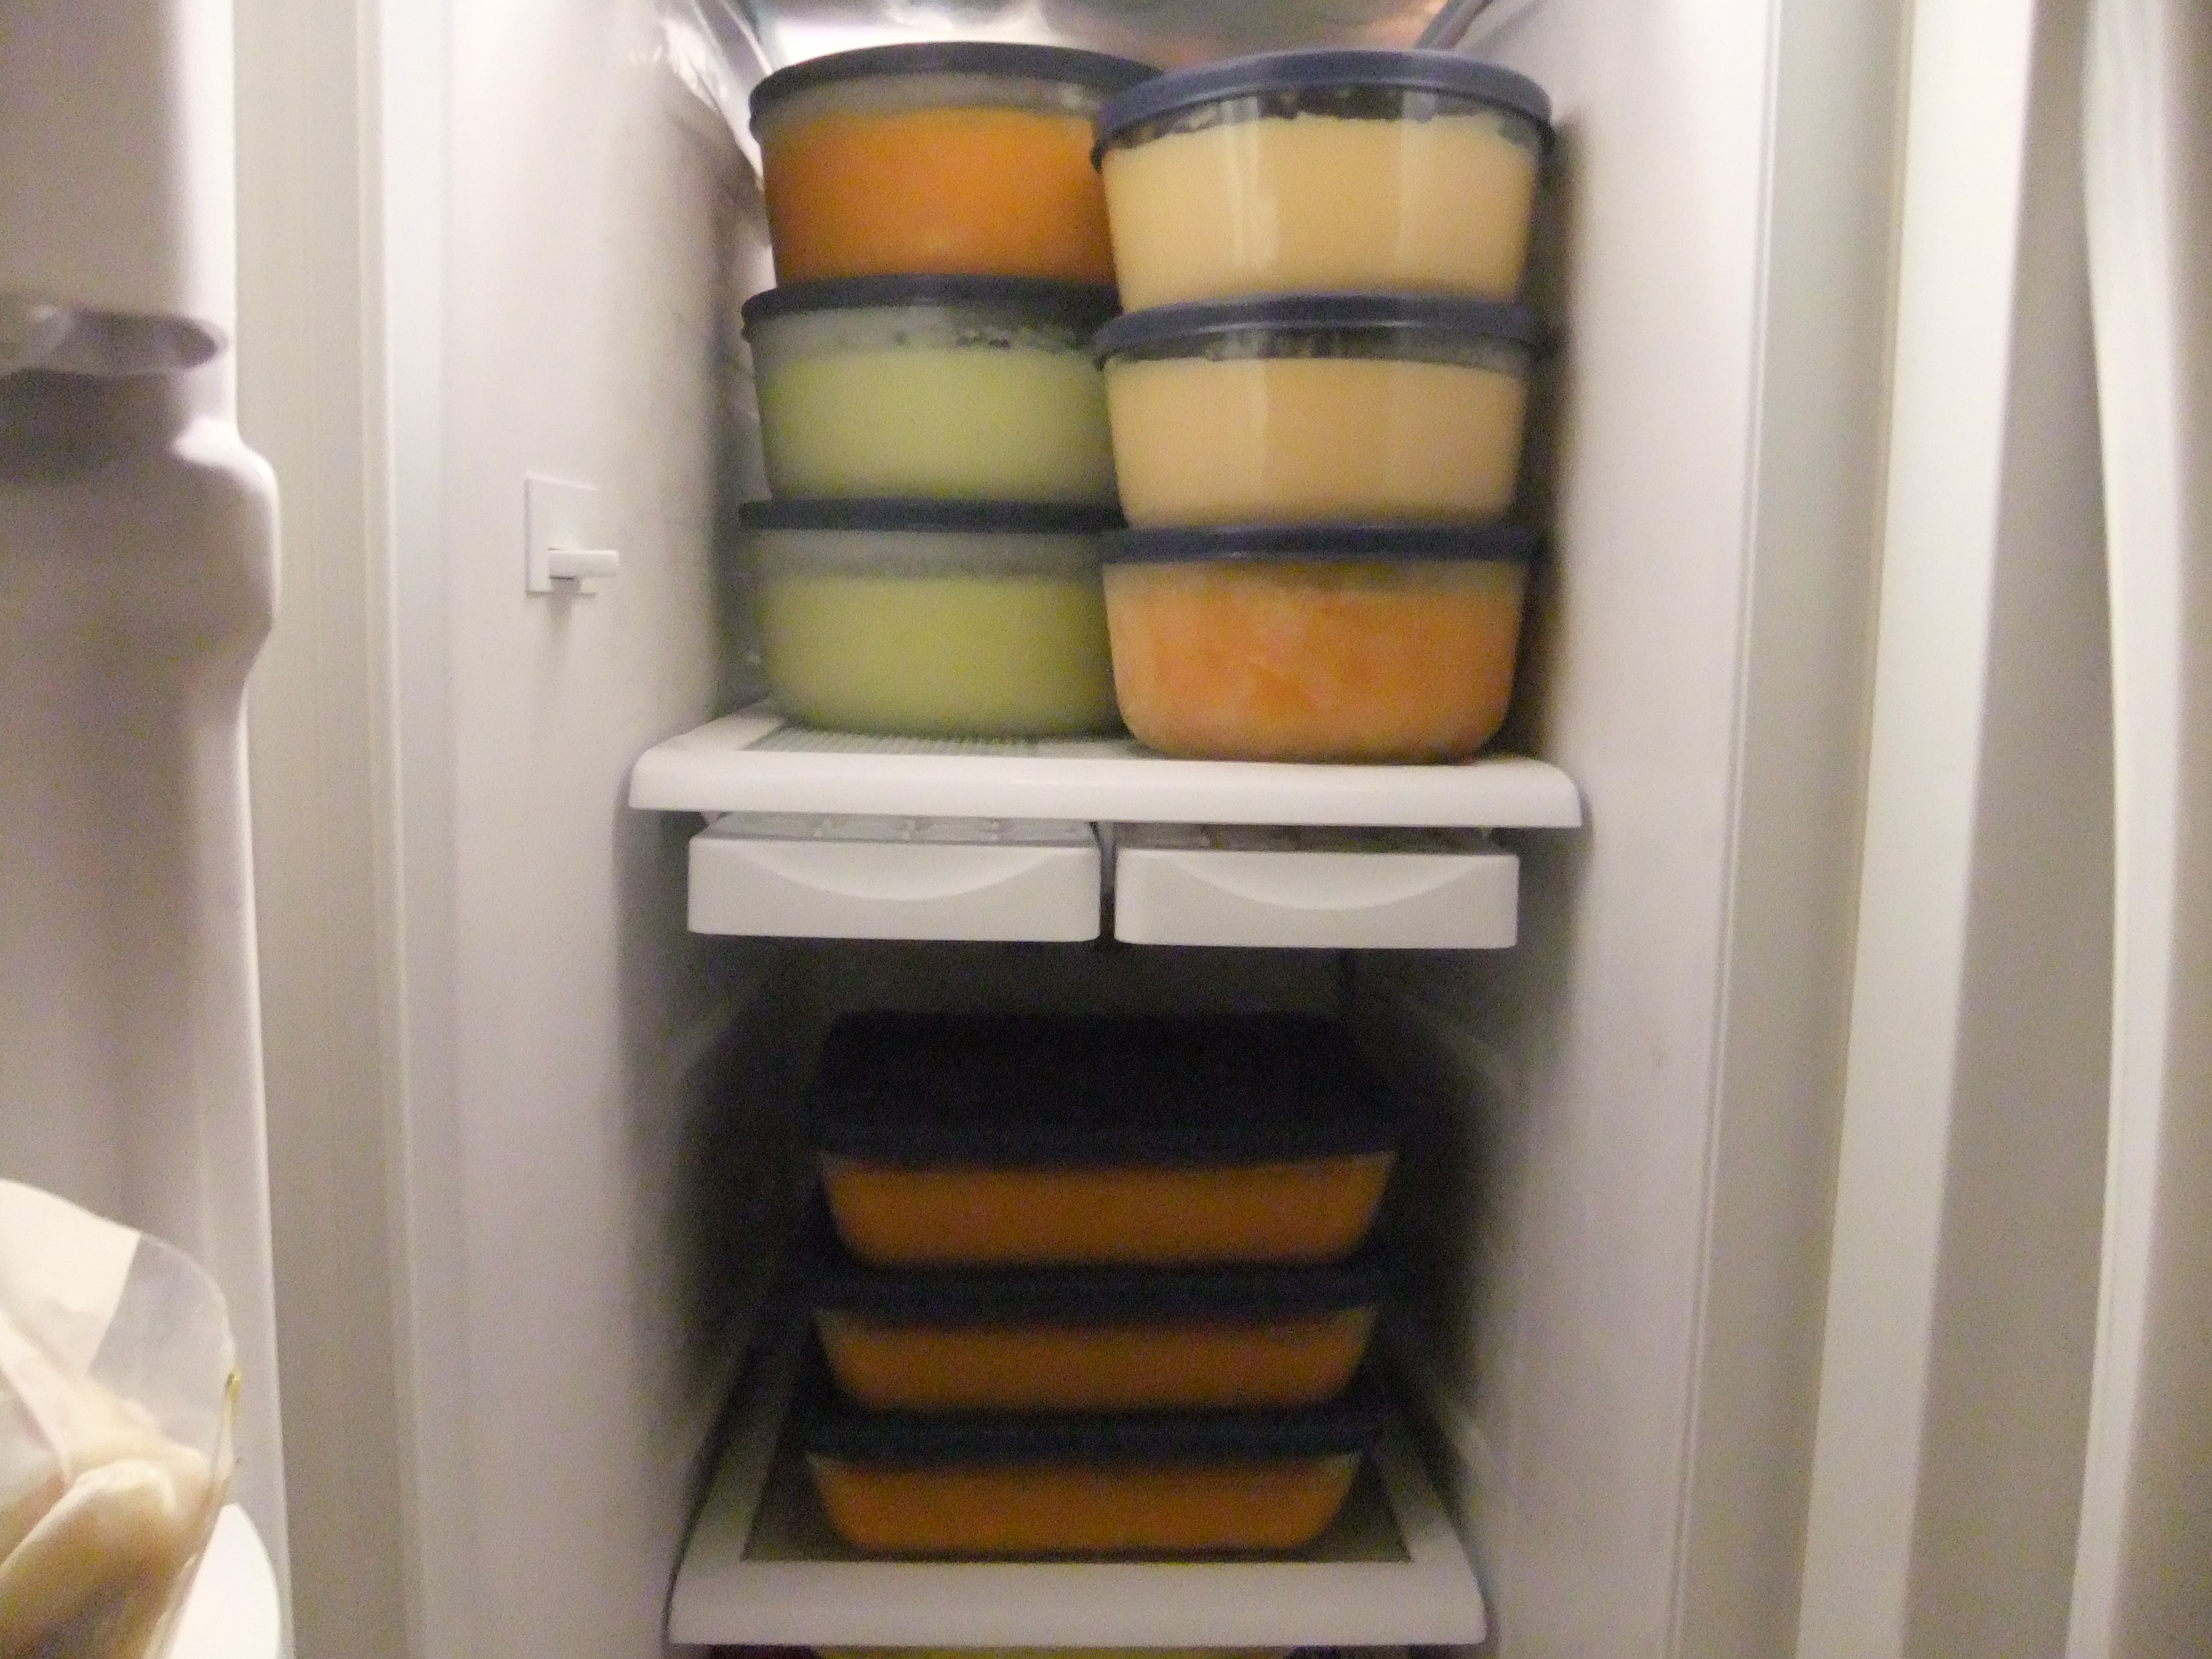
However, there’s nothing more boring than eating the same old soup every day. So with this in mind ~ variety is the spice of life, after all ~ about once a month I do a big winter cook-up of all of hubby’s favourites. I spend the day scrubbing, peeling and chopping a mountain of vegetables, which go into at least two big pots that bubble away on the stovetop simultaneously. Then it all goes into the freezer and its thumbs up, because it’s done for another month! On a cold winter’s night when you’d rather be by the fire than in the kitchen, there is nothing better than putting your hand in the freezer and pulling out a home-made soup ~ it’s the ultimate healthy fast food.

Winter Cook-Up - Soup Vegetables

Winter Cook-Up - Bubbling Soup

Winter Cook-Up - Cooling the Soup!

Winter Cook-Up - Freezing SoupA chef would say that a good soup requires a homemade broth as a base, and having grown up with my mother’s soups, they would be right. She always made a meat, chicken or fish broth first, and then used that to make the soup. In the days when I made bouillabaisse regularly for dinner parties, my fish broth was to die for, however, these days as most of my soups are vegetable-based they are all very basic and simple.

Hubby loves the blended variety, and his favourites are Tomato, Potato & Leek, Pumpkin & Sweet Potato, Pea & Ham, and Carrot. I’ve been making them for a very long time, originally from an old soup recipe book, but as all recipes go, my versions have changed a bit over the years depending on the ingredients I have at hand. That’s how basic they are ~ you will most likely already have all the ingredients in your fridge! Also, they are all fairly thick soups, and you can make them go further with the addition of cream or milk. So here they are as per my old recipe book. No doubt you will add your special touch, but as you will see they are all very, very easy.

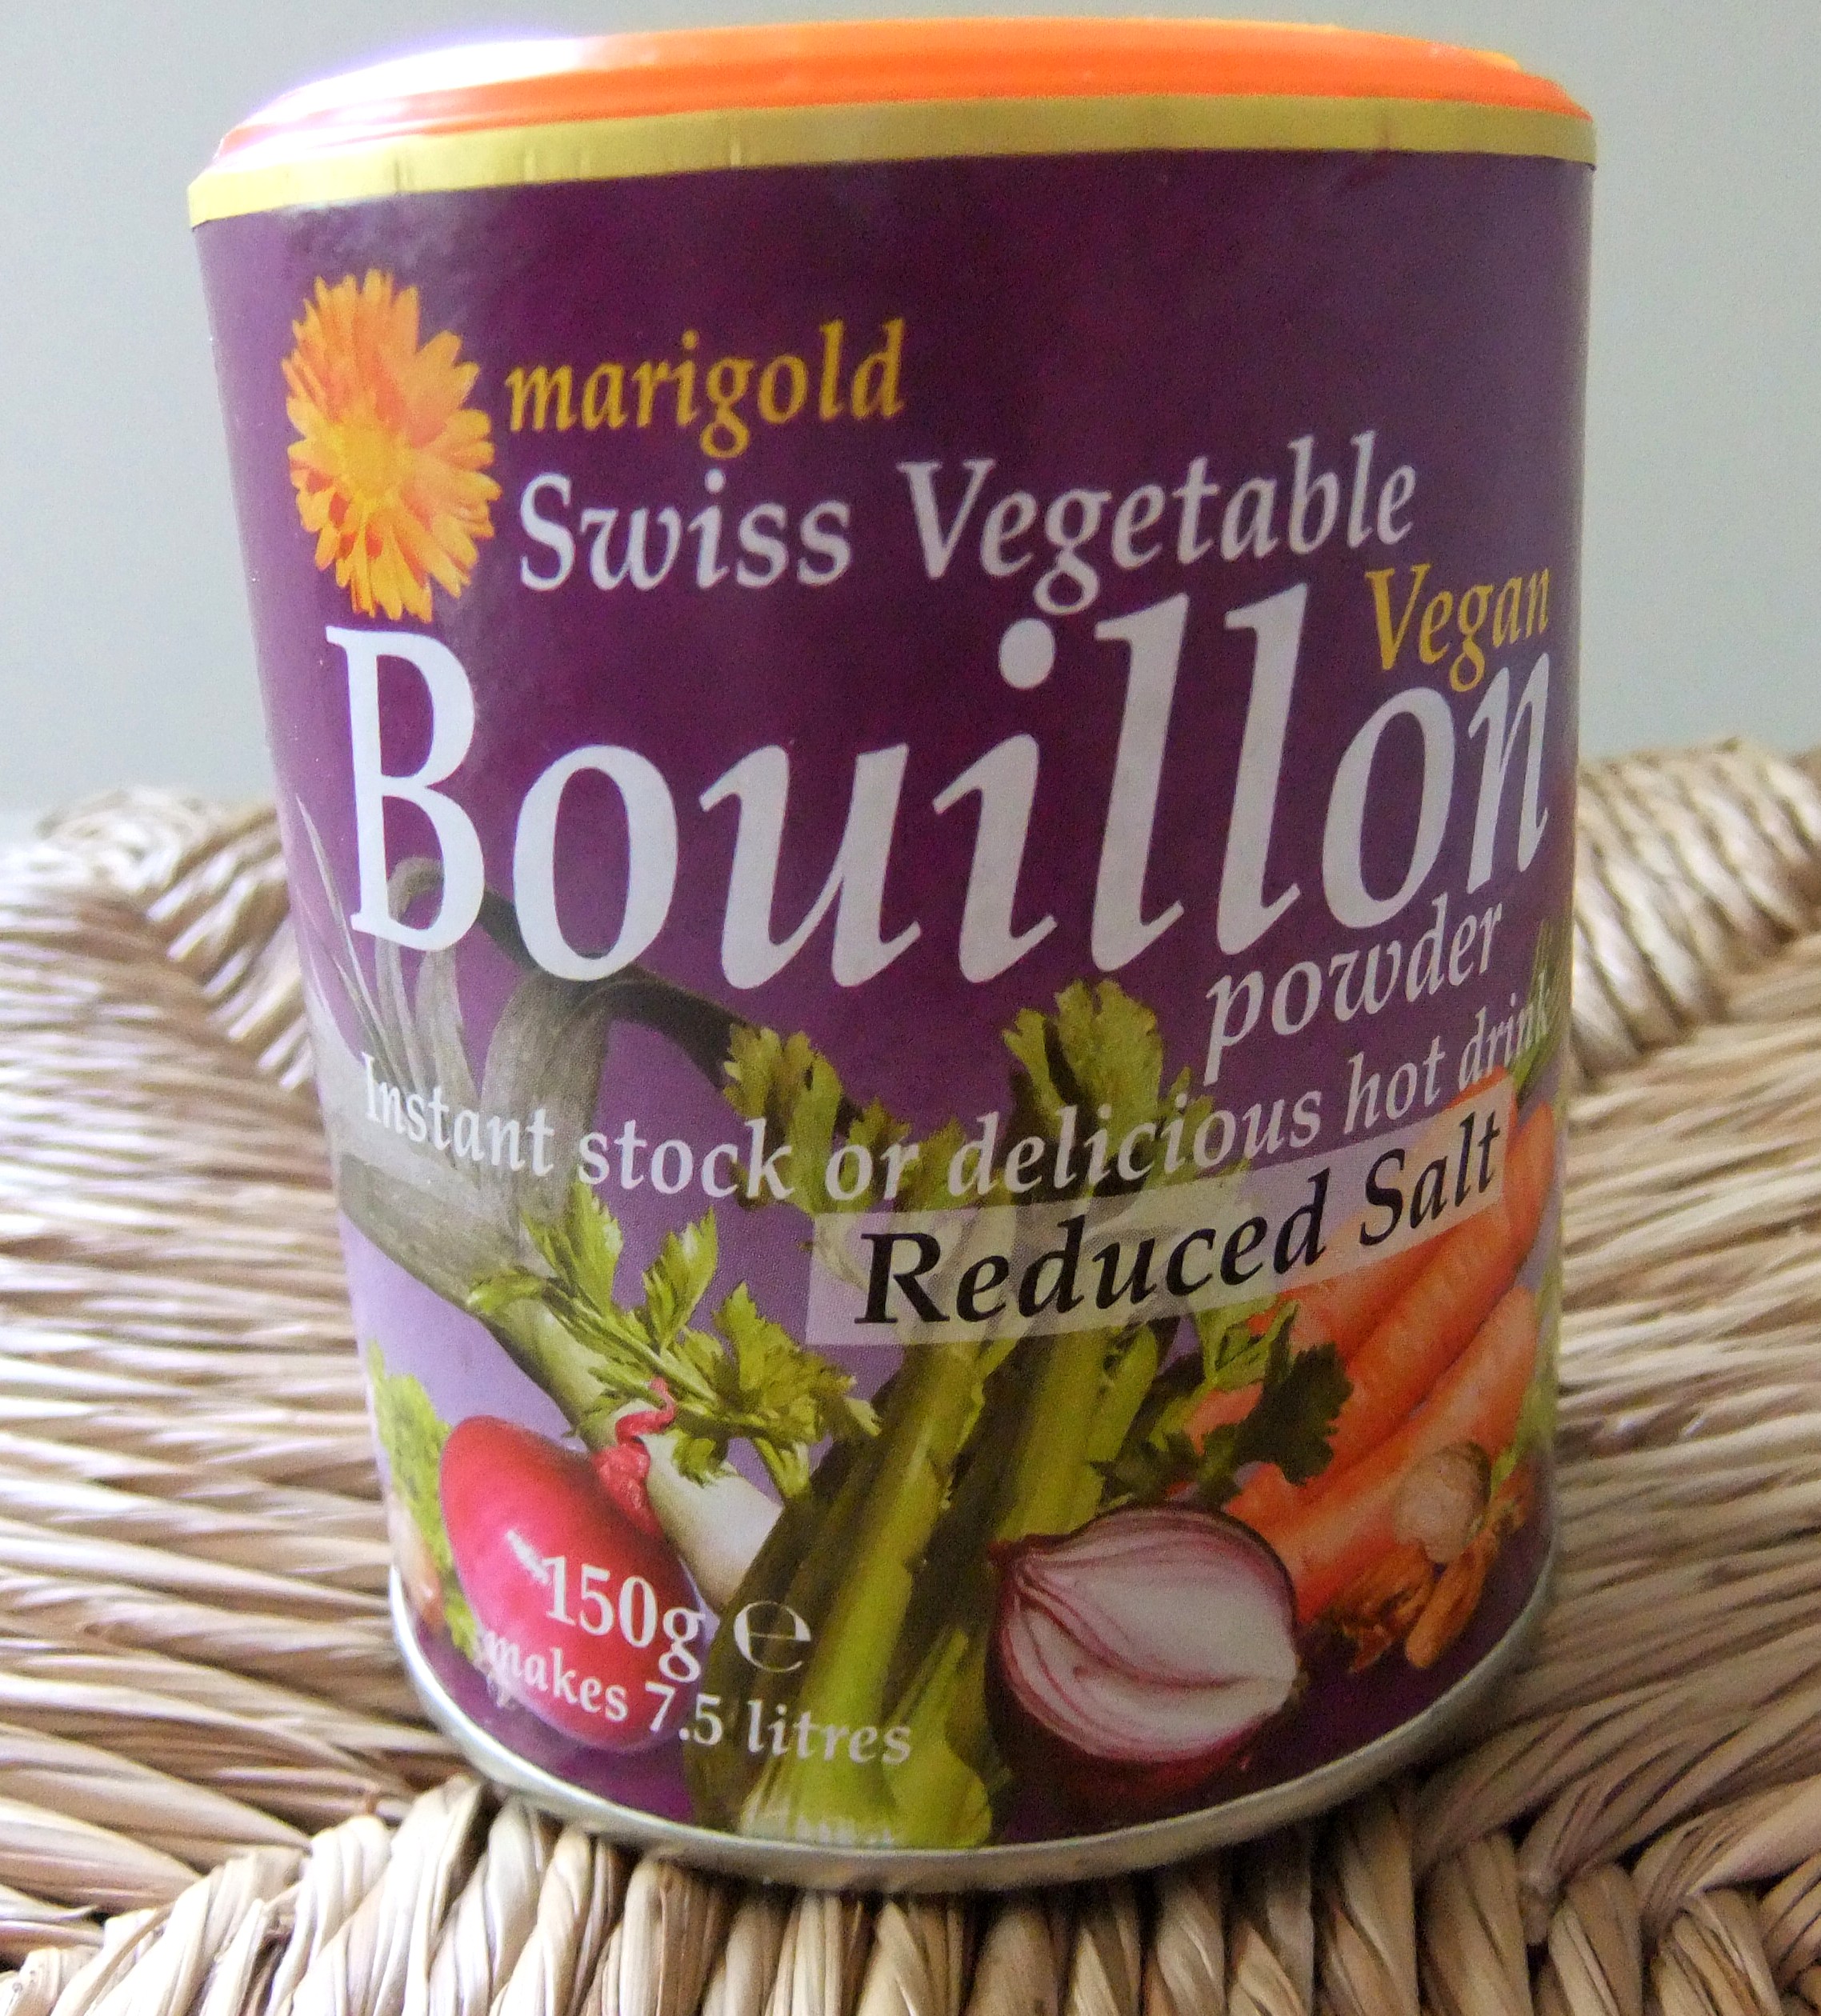
A note regarding stock ~ I make up my own using my favourite stock-based seasoning, and I must say its top notch. For my taste buds, it adds exactly the right flavour, and I can add as much or as little as I like, so wherever the recipe says stock, this is what I am referring to: Marigold Swiss Vegetable Bouillon Powder.

Winter Cook-Ups - Marigold Swiss Vegetable Organic Bouillon

Winter Wook-Ups - Marigold Swiss Vegetable Salt Reduced Bouillon

Slow Cooker Pea & Ham Soup

Winter Cook-Ups - Pea and Ham Soup

This takes the longest to cook, but it’s very easy as it’s done in the slow cooker.

Ingredients:

  • 800g ham hock
  • 1 brown onion diced
  • 2 carrots chopped
  • 2 celery sticks chopped
  • 2 cups split peas well rinsed
  • 1 large clove of garlic chopped
  • 1 bay leaf
  • 8 cups of water

Method:
Place split peas on the bottom of the slow cooker. Add the vegetables and place the ham hock on top. Cover with the water and cook on high for 5 hours or until the meat is falling off the bone. When cooked, remove the ham, break the meat apart and keep it separate. Blend all the liquid till smooth. If you feel it needs extra seasoning then add it, however, I find it’s always just right. Serve soup with pieces of the meat and a dollop of cream if desired.

Quick Pea Soup

Winter Cook-Ups - Pea Soup

Here’s an idea for a quick pea soup. Everyone usually has a packet of frozen peas in their freezer, and at a pinch, this makes a decent soup when there’s nothing else in the cupboard. Just add vegetable stock or water and a stock-based seasoning powder, cook till tender and blend. It works, and I’ve even served it to guests!
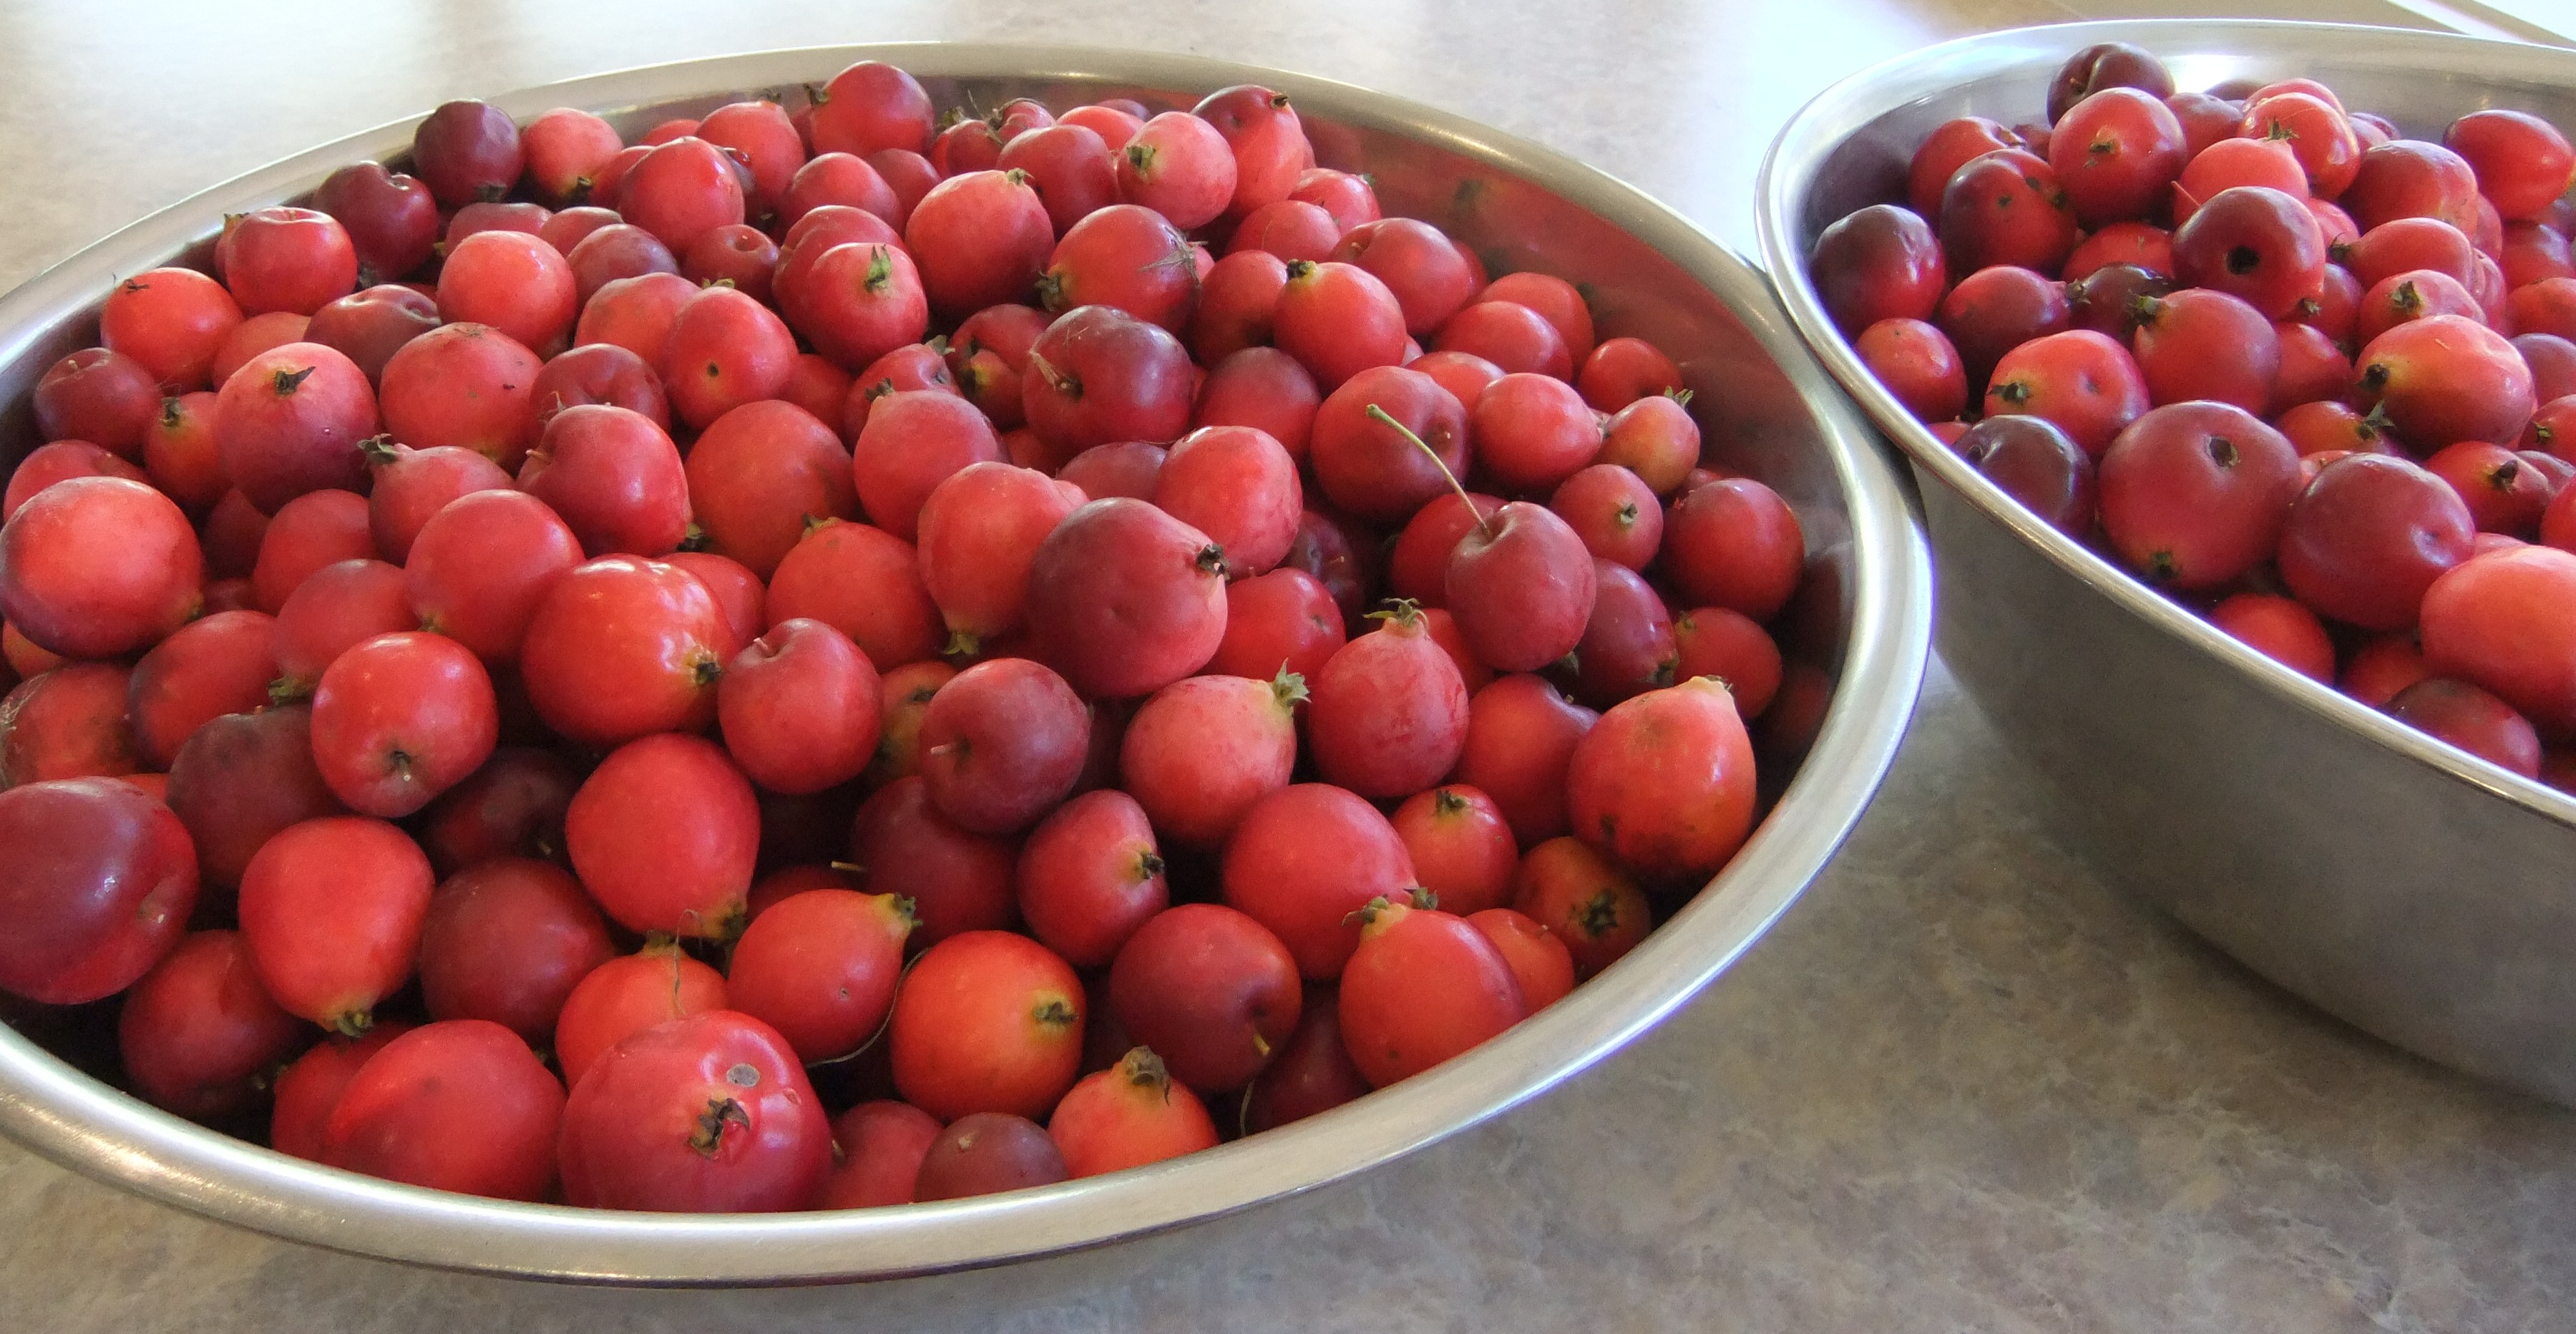
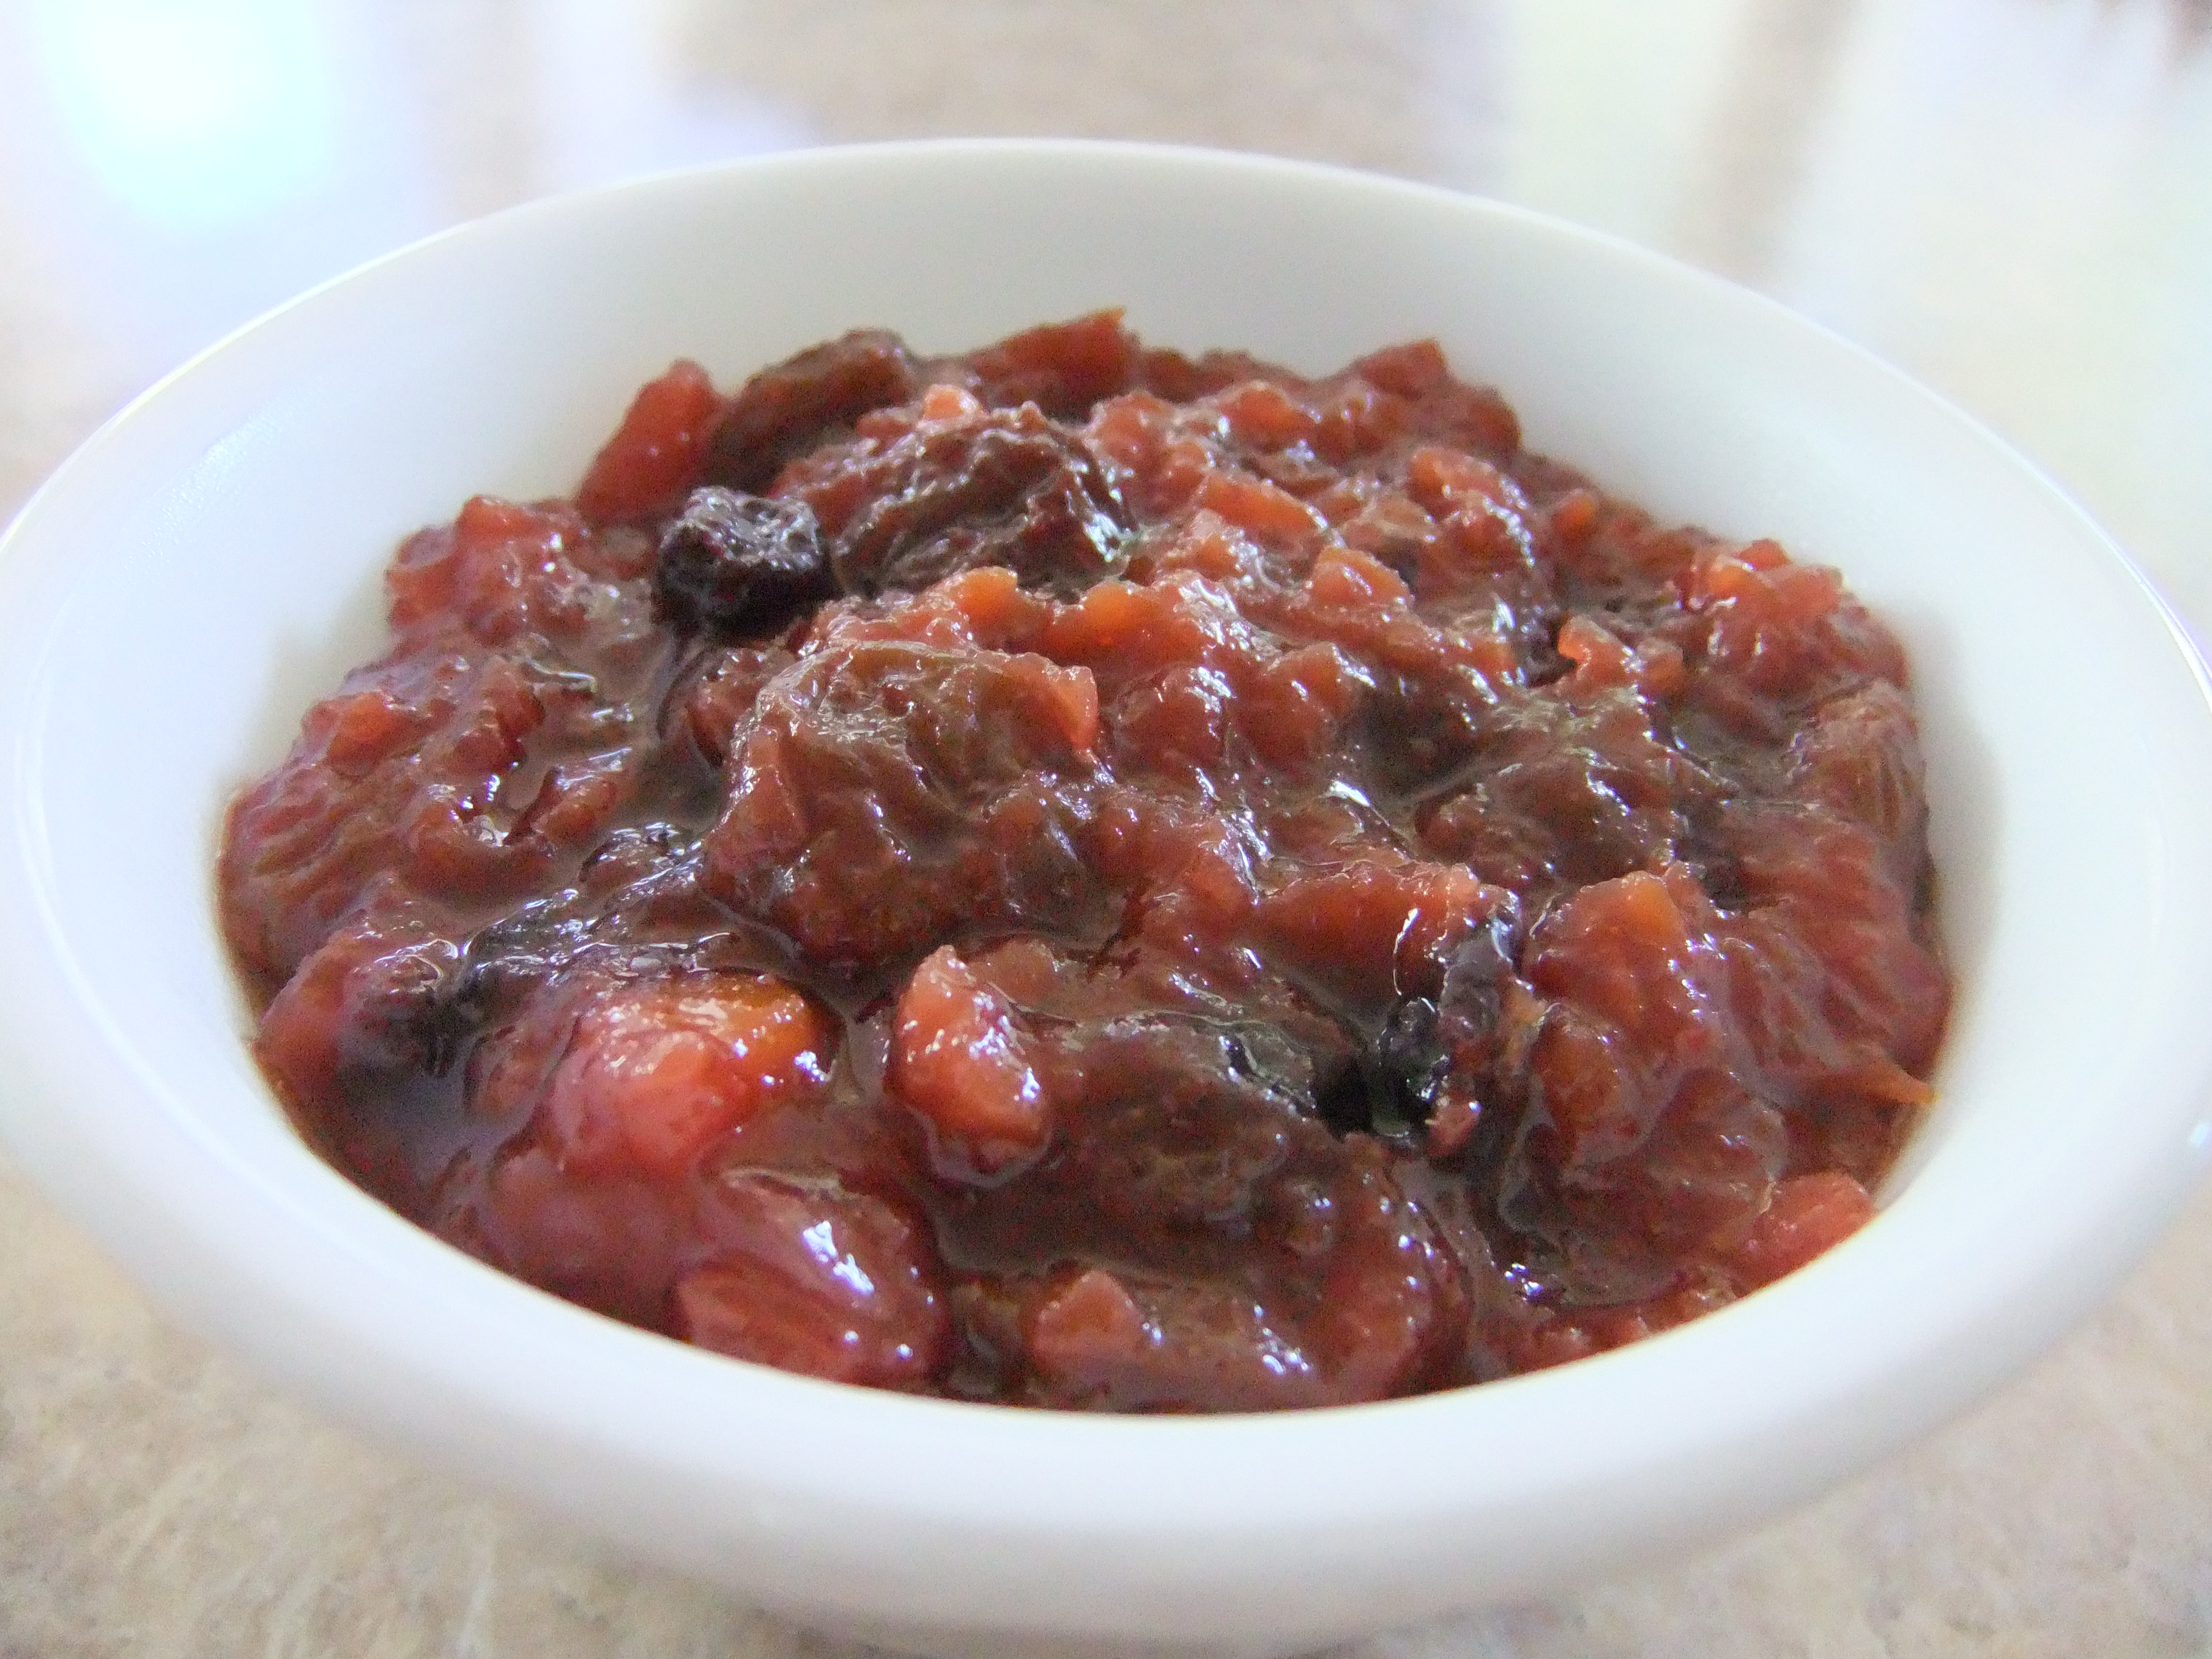
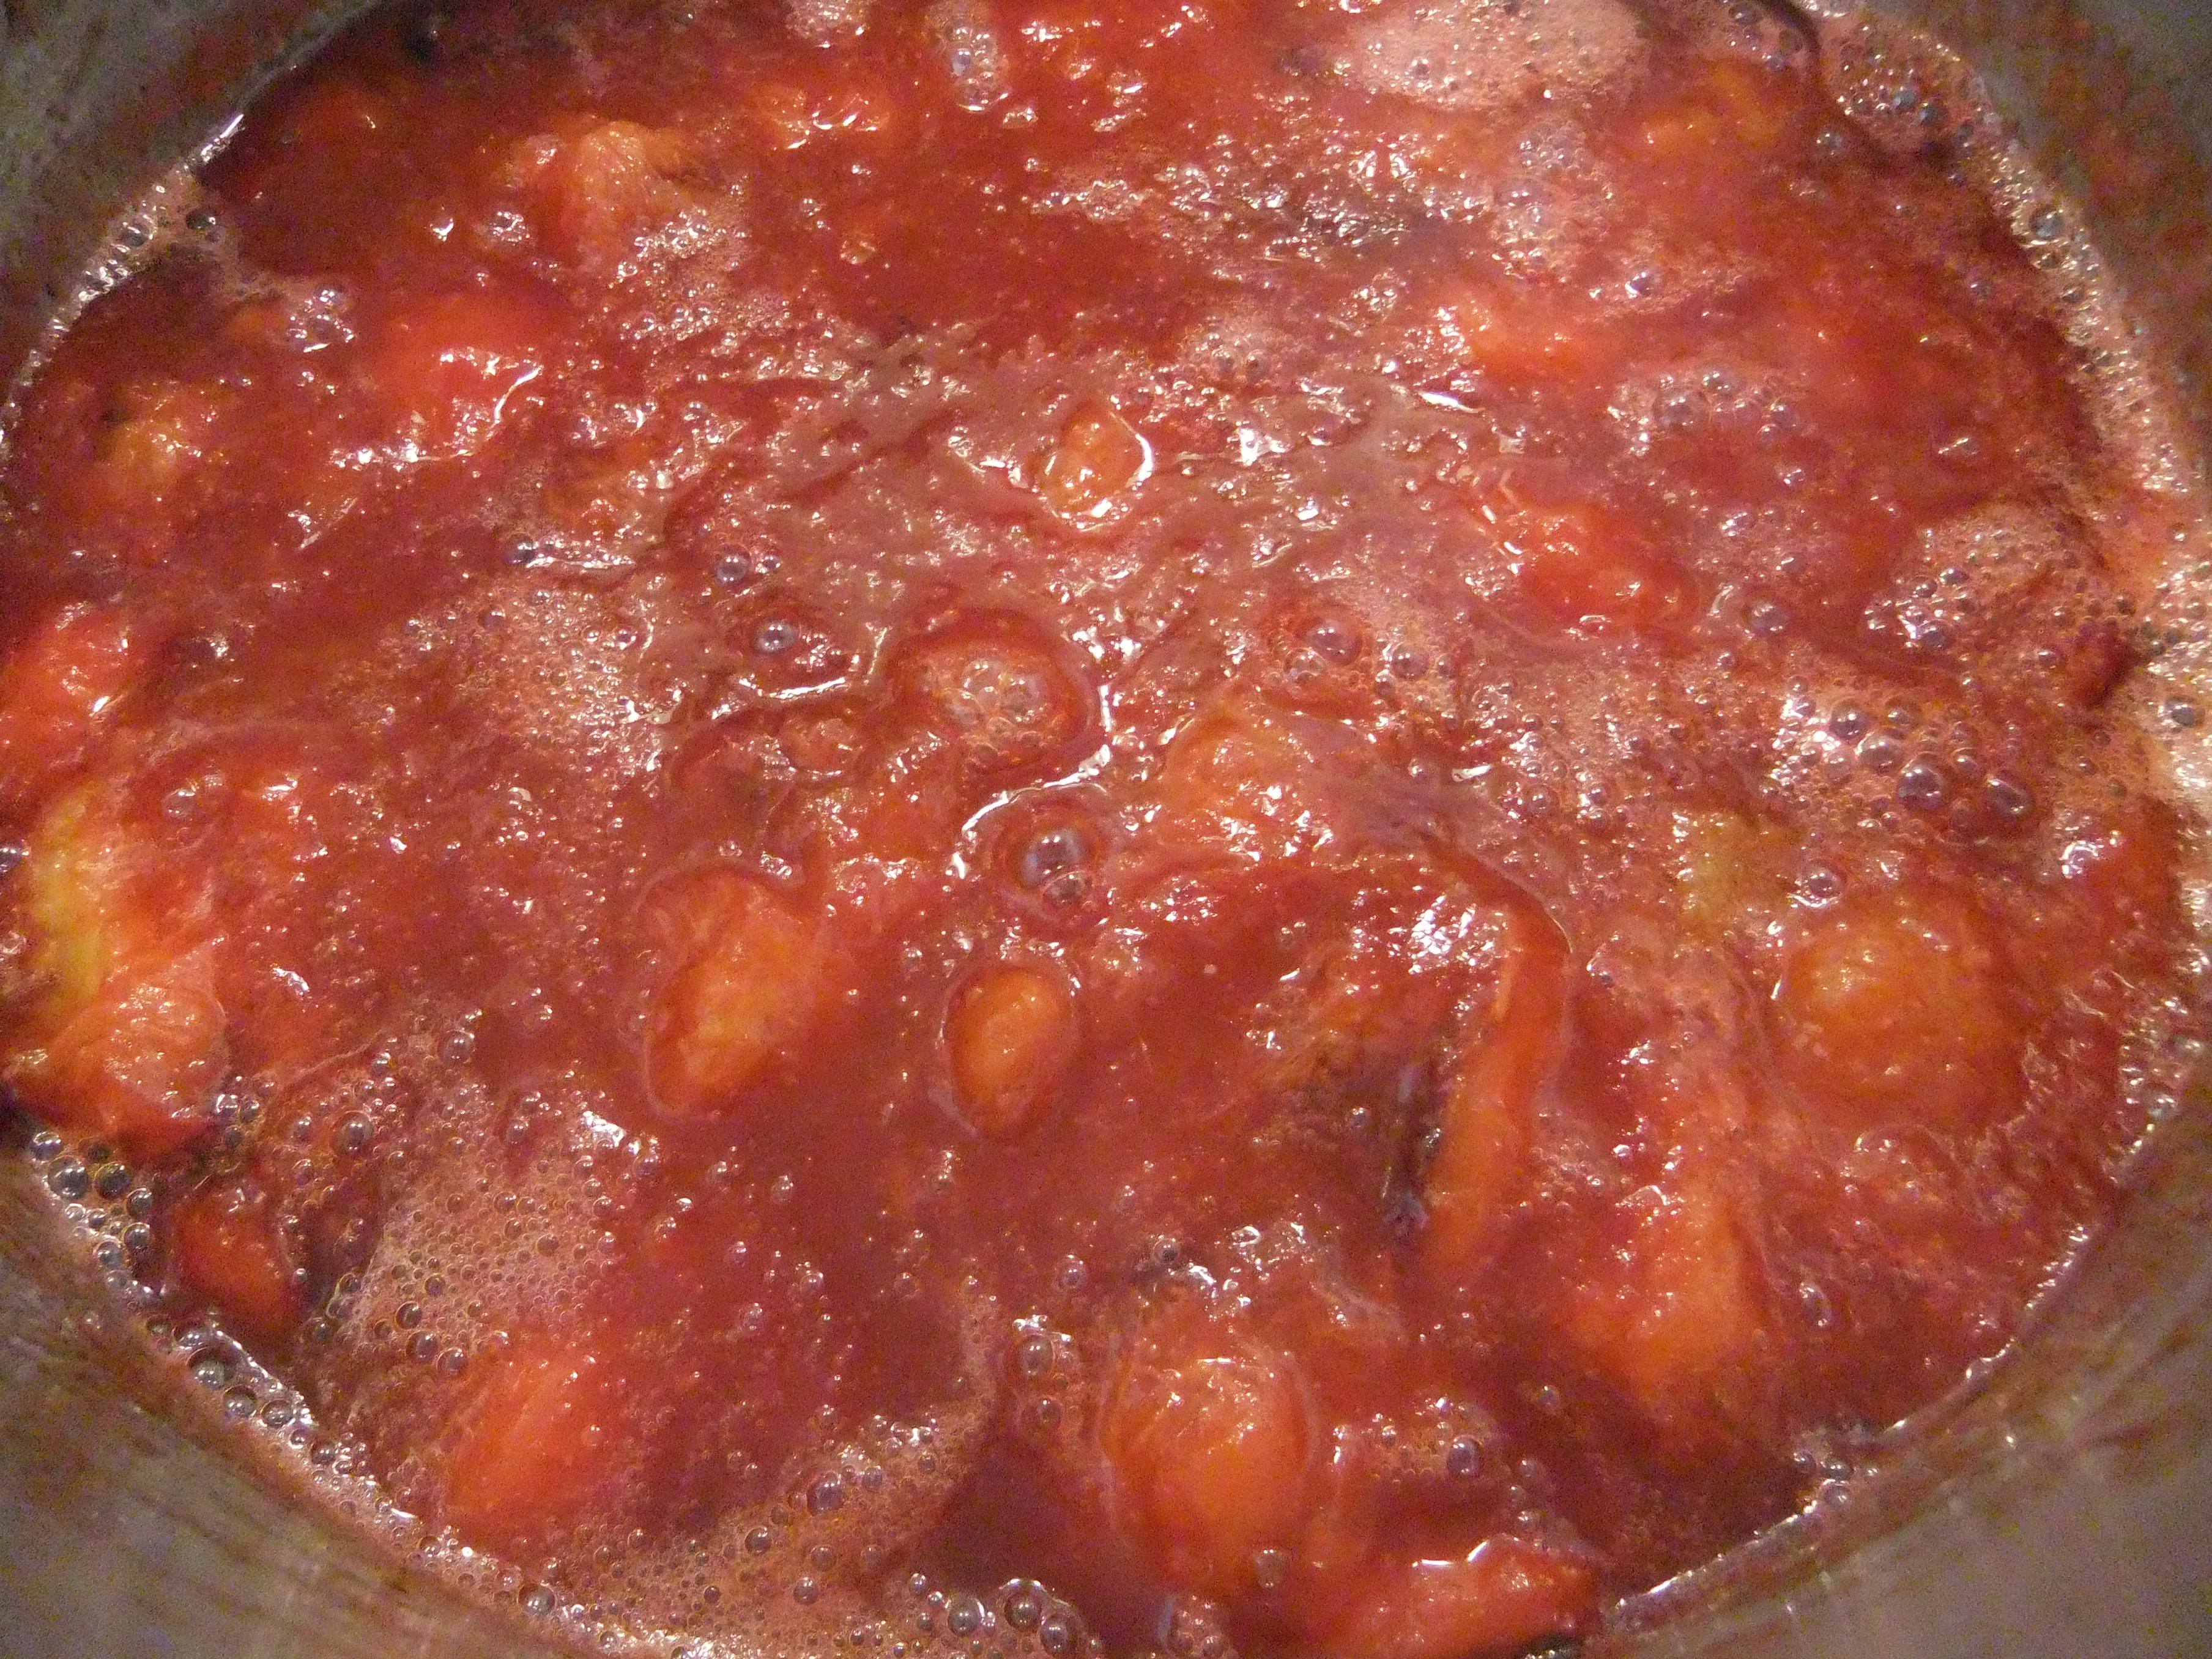
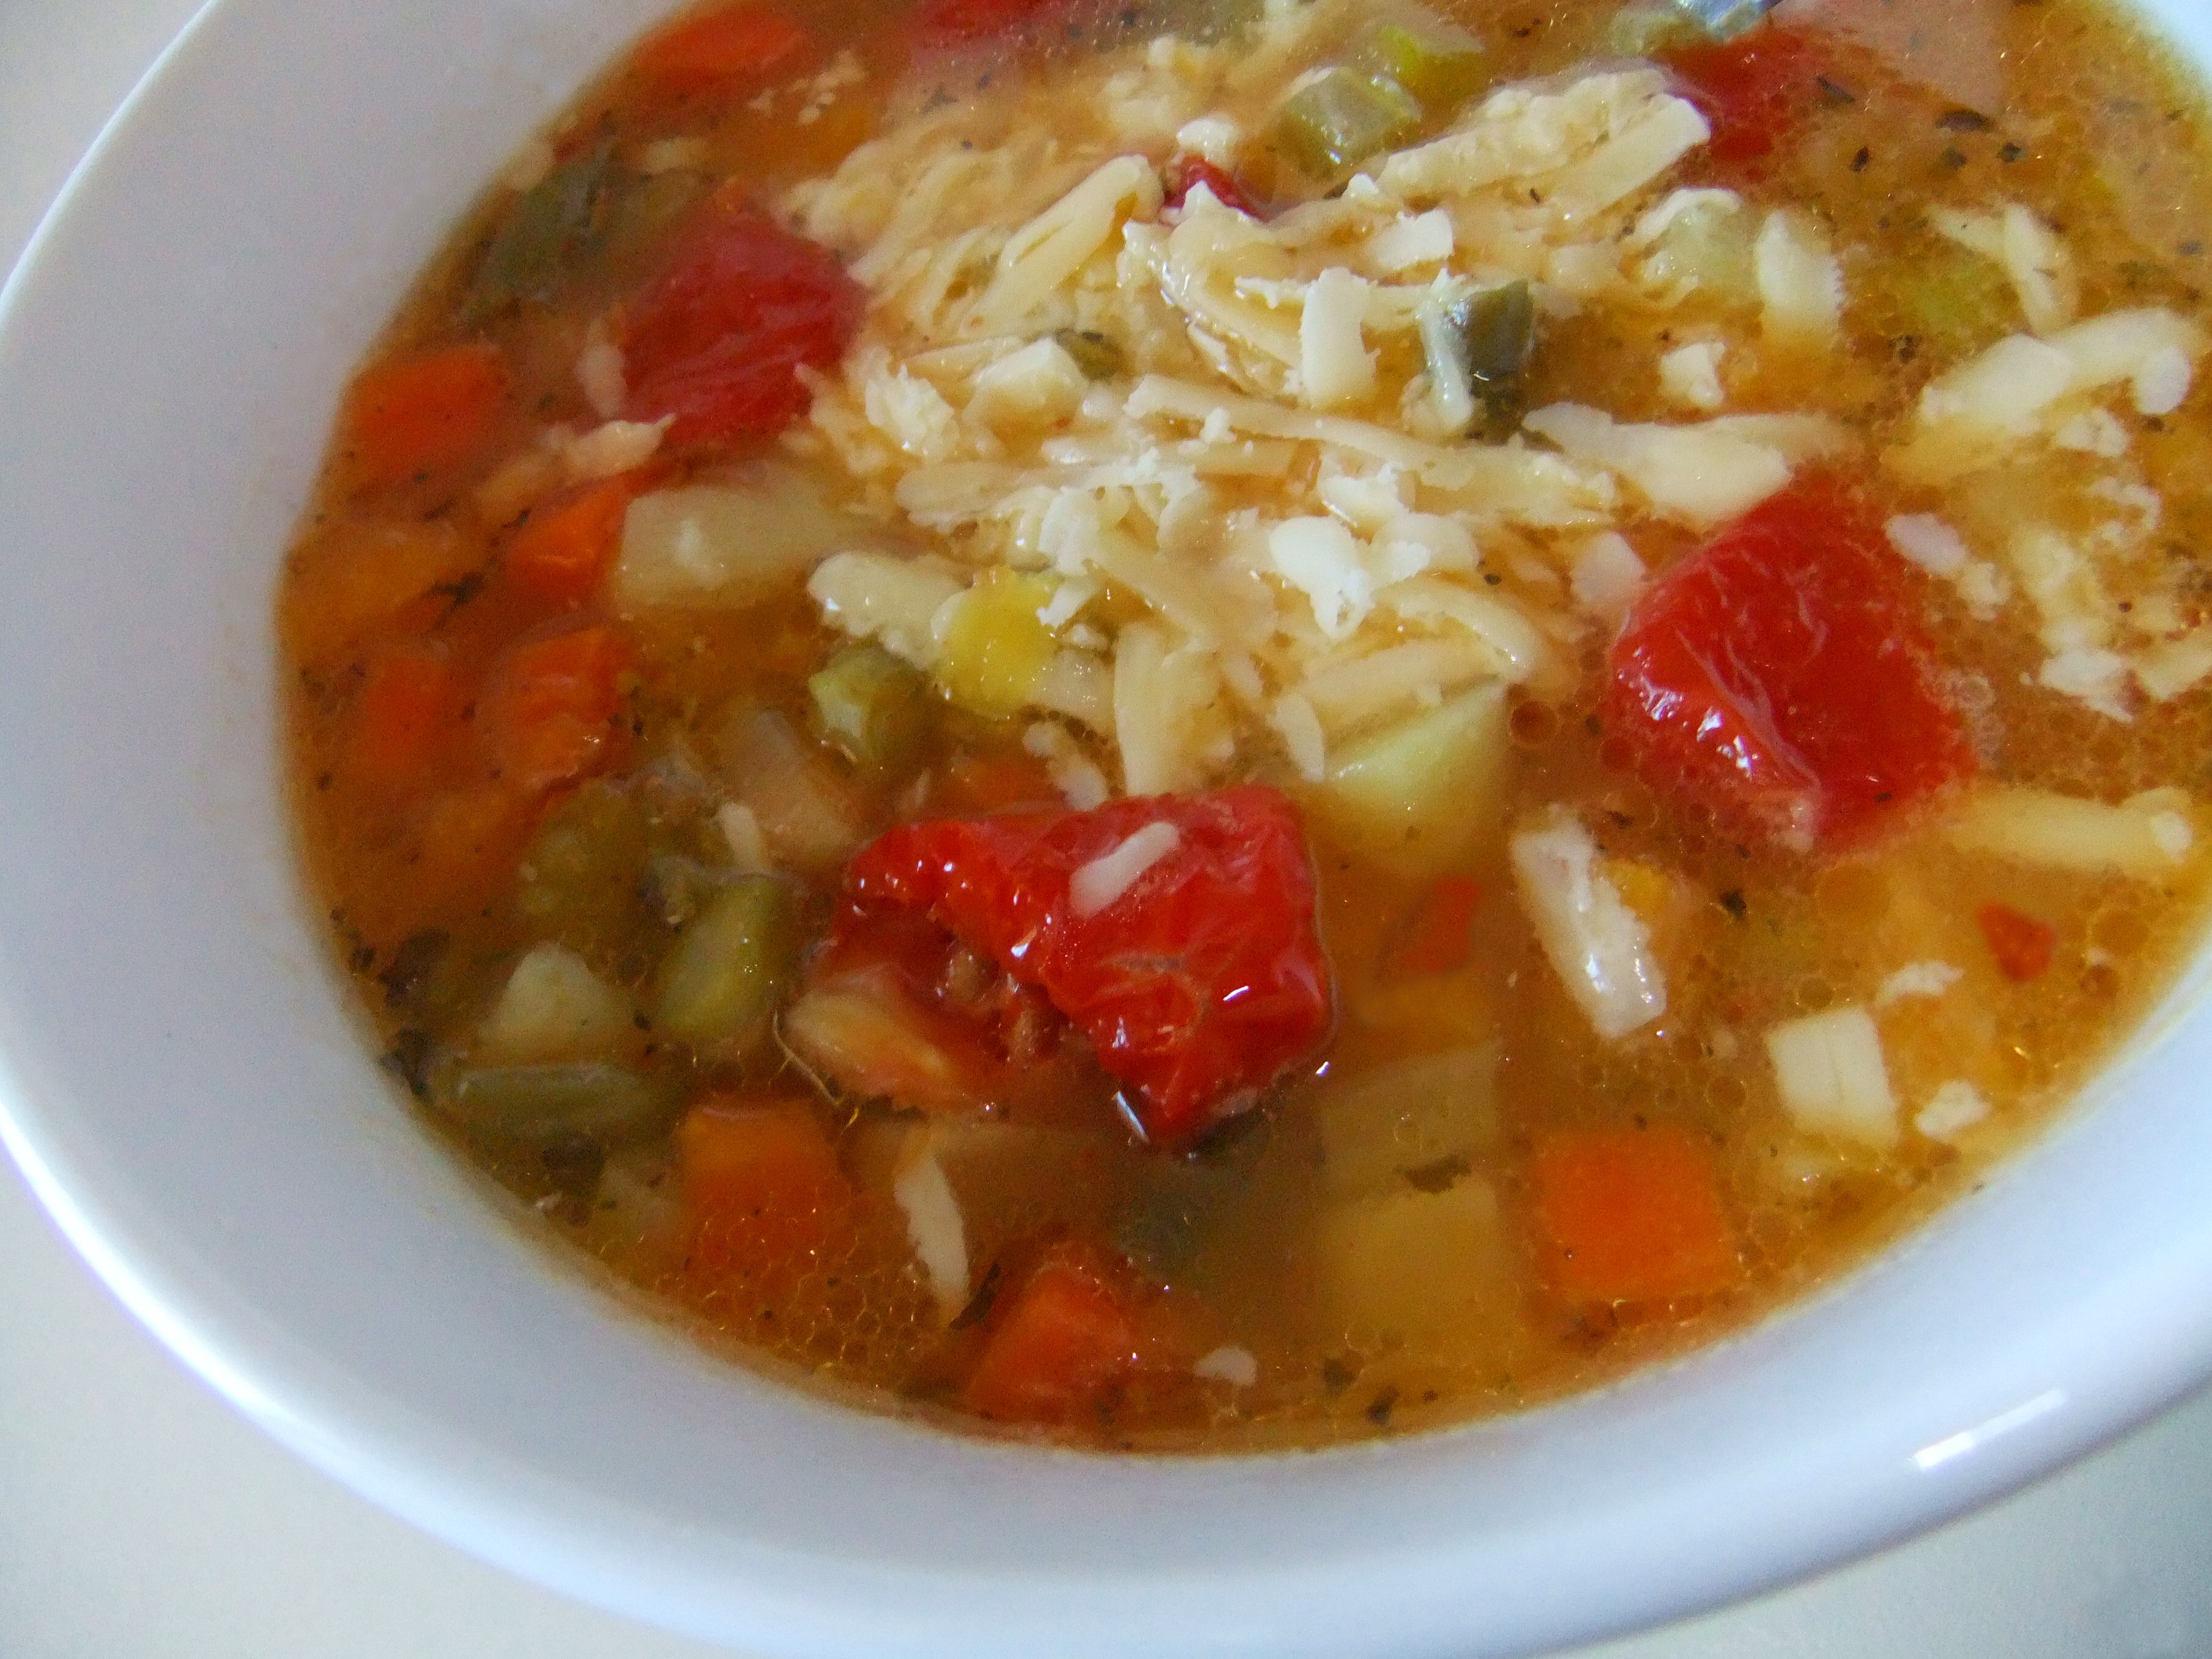
Tomato Soup

Winter Cook-Ups - Tomato Soup

I really enjoy making this soup. I love tasting it as the flavour develops during the cooking process. So delicious!

Ingredients:

  • 3 tablespoons of butter
  • 2 onions chopped
  • 3 carrots diced
  • 1 1/3 kg of tomatoes cut up
  • 3 cups chicken or vegetable stock
  • 2-3 tablespoons fresh chopped herbs such as basil, parsley, marjoram or thyme (I usually don’t have them handy so they never get added, but I’m sure they would taste great!)

Method:
In a large saucepan, heat the butter and saute onions and carrots until the onion is transparent. Add tomatoes and cook over medium heat for 4-5 minutes. Add stock and herbs, and simmer for 40 minutes. When cooked, blend till smooth and add salt and pepper to taste. Serve with a dollop of sour cream or yoghurt and chopped chives.
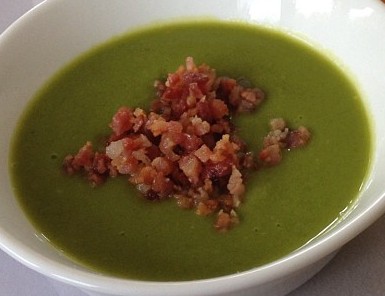
Potato & Leek Soup

Winter Cook-Ups - Potato and Leek Soup

This is also delicious. It’s very hearty and goes well with grated cheese or bacon bits.

Ingredients:

  • 6 leeks washed and cut into rounds (don’t use the darkest green part)
  • 1 onion, chopped
  • ¼ cup butter
  • 5 potatoes, peeled and diced
  • ½ cup parsley, chopped (I usually don’t have this either!)
  • 6 cups chicken or vegetable stock

Method:
Saute leeks and onions in butter until tender. Add potatoes, parsley and stock, and simmer for half an hour until potatoes are tender. Blend till smooth and serve with a dollop of cream if desired, or your choice of grated cheese, bacon bits, or chopped chives.

Pumpkin & Sweet Potato Soup

Winter Cook-Ups - Pumpkin and Sweet Potato Soup

This is my version of Pumpkin Soup. It’s extremely simple. The combination of butternut pumpkin and sweet potato is something I stumbled upon when I wanted to stretch the soup one day, and as it tasted so good ~ it makes the soup sweeter ~ it’s now how I always make it.

Ingredients:

  • 1/2 butternut pumpkin, chopped
  • 1 large sweet potato
  • Enough water to cover
  • Stock-based seasoning powder to taste

Method:
You can do this either of two ways. Bake the pumpkin and sweet potato, which brings out the flavour, and then blend with warm stock until smooth, or simmer the pumpkin and sweet potato in stock until tender and then blend. Add salt to taste if required, though I find using the stock seasoning is sufficient. Serve with a dollop of cream if desired.

Minted Carrot Soup

Winter Cook-Ups - Minted Carrot Soup

This is my favourite of the blended soups. It’s a recipe given to me by a friend 30 years ago, and I have been making it ever since. I rarely have the parsley and mint to hand, but it tastes just as good without them.

Ingredients:

  • 1 kg carrots, sliced
  • 1 onion, chopped
  • 2 potatoes, chopped
  • 2 sticks celery, sliced
  • 6 shallots, chopped
  • I clove garlic, crushed
  • 90 grams of butter
  • 1 litre of water
  • 2 teaspoons of sugar
  • Salt or seasoning powder to taste
  • 2 tablespoons chopped parsley (again, I rarely have this on hand!)
  • 2 teaspoons chopped mint
  • ½ cup cream (optional)

Method:
Melt the butter. Then add the carrots, garlic, potatoes, onion, celery and shallots. Stir to coat the vegetables, then cover and cook gently for 5 minutes stirring occasionally. Do not let the vegetables brown. Add water and sugar, and simmer gently for about 10 minutes until vegetables are tender. Stir in the chopped parsley and mint. Blend till smooth, season to taste and if desired add the cream to the whole soup, or serve with a dollop of cream in each bowl.

So there you have it! I think everyone would agree that soup is the ultimate comfort food. Served with grated cheese, warm bread rolls, or even a rissole or a sausage or two, you can’t go wrong putting it on the table on a cold winter’s night! Without a doubt, it is a crowd pleaser, whether it is a crowd of two or twenty. But the best reason to make soup in our house is because I always hear hubby say, ‘Lovely soup!’ on the very first mouthful.

Enjoy! ♥

Inara Hawley © 2014

Easy Fruit Cake

1 Comment

A quick ‘foodie’ blog today for a recipe which has turned into a favourite for Hubby, and as I am the No-Cook Cook, you can bet it’s going to be easy! It’s a fruit cake I baked this past Christmas, thanks to a friend who gave me the recipe. Of course, I have tweaked it a bit as I do with all recipes, to suit our tastes. Something I am sure you will do as well if you try it.

When Hubby was growing up fruit cake was a staple. His mother made boiled fruit cake every single week. I have her recipe somewhere, but in thinking back to the days when I made it, it was somewhat crumbly and not nearly as moist. This cake is so moist you could almost call it a pudding. It’s because the recipe is chock-a-block full of fruit, which to be honest, is what Hubby and I prefer to a dry fruit cake.

I’ve been meaning to post it for ages. Then the other day, we had an unexpected visit from old friends and out came the fruit cake. It was such a success, I promised I would pass on the recipe. So here it is.

Easy Fruit Cake

Easy Fruity Fruit Cake Easy Fruity Fruit Cake

Ingredients ~ Makes 6 small tin loaves or 3 medium tin loaves 

  • 1 kg mixed dried fruit
  • 650 m white coffee, chocolate milk or any kind of plain milk ~ I use oat milk
  • 280 g -300 g self-raising flour

Other options:

  • The addition of rum or brandy is nice for Christmas
  • Adding lightly crushed walnuts gives a good texture
  • Adding dark chocolate chips makes for a lovely rich cake
  • Note: if you prefer your cake to be less fruity then alter the recipe accordingly

Method:

  • Soak the fruit in milk overnight in the fridge in a covered container. The longer the better. I soak mine for about 3 days ~ it makes for a super moist and much nicer cake. Check the fruit each day to ensure it is still covered with milk, give it a good mix and add a little extra liquid if needed.
  • When you are ready to bake your cake, add the flour to your container of fruit and mix well until combined. If the mixture is too liquid then add a bit more flour, and vice versa if too dry. The consistency has to be sticky.
  • Spoon mixture into prepared tins and bake for about an hour at 150 degrees, or until the skewer comes out clean, for the small loaf tins and longer if using the medium loaf tins. If you are making one large cake, then you will need to bake it for about an hour and a half, but being the wonderful cooks that you all are, I am sure you will know exactly when your cake is cooked!

I hope you enjoy it ~ Hubby does, nearly every day. Happy cooking!

Inara Hawley © 2014

My Nigella Moment ~ Pumpkin Blinis

Leave a comment

It was a stinking hot night when I had my ‘Nigella’ moment. I had cooked dinner earlier for Hubby ~ one of my own creations from leftovers … you know the kind which desperately needs using up, or it ends up in the bin.

Anyway, I was feeling creative, and like Nigella, I relished each ingredient as I reached for it in the fridge ~ golden pumpkin mash, glistening sweet chilli sauce, a perfect white round egg and luscious smoked salmon.

So I set to work. I drained the mash, cracked in the egg, added the sweet chilli sauce and mixed with gusto. I was getting hotter by the second, but I was on a roll. I dusted in a snowfall of flour and a sprinkling of seasoning, mixed some more and it was ready to cook.

My Nigella Moment - Sweet Chilli Pumpkin Blinis

Sweet Chilli Pumpkin Blinis with Smoked Salmon

Out came the pan and on went my sweet chilli pumpkin blinis. The mixture made quite a lot so I ended up cooking for a while, but it was worth it. Served with smoked salmon and salad, Hubby loved them, and I was happy too. I’d used up the leftover mash and enjoyed my burst of creativity, but apart from a quick taste before they went onto the plate (and yes, they were really good), I didn’t partake. I was far too hot to even think about eating.

Then later ~ much, much later when the house was quiet, and Hubby and the cat were both snoring, I had my Nigella moment. In bare feet I padded into the dark kitchen, opened the fridge and suddenly it happened … camera, lights, action! There on the middle shelf sat my inviting delicious little blinis topped with twirls of smoked salmon!  With a hugely satisfied smile on my face I popped one into my mouth, closed my eyes in delight, reached for another, shut the door and toddled off to bed … my sensual ‘Nigella’ moment was complete! And here’s the recipe as far as I can remember it!

Inara’s Sweet Chilli Pumpkin Blinis

Ingredients:

  • 1 egg
  • 2 cups well-drained pumpkin mash
  • 2-4 tablespoons of sweet chilli sauce depending on taste
  • About ½ cup of flour ~ add till you’re happy with the consistency
  • Seasoning to taste ~ I use Marigold Swiss Organic Veg. Bouillon Powder

Method:
Mix all ingredients together. Spray a large frying pan with oil and cook smallish dollops of the mixture over a medium to high heat for a few minutes on each side until cooked through. This mixture makes about 18 blinis. Serve warm with smoked salmon and salad, or cold topped with soft white cheese and twirls of smoked salmon or anything else that takes your fancy, and please, in-joy!

Inara Hawley © 2014

What Matters Most

2 Comments

On Friday, a very dear friend came to visit me. We have been heartfelt mates for over 25 years. We studied natural therapies together, as well as other very interesting things, as you do when you step into the alternative lifestyle! It’s probably been more than ten years since we have seen each other. It’s actually hard to remember the last time we met, as even though we only speak a few times a year, we are always present in each other’s life. Much has happened during that time, and as true friends do, we have shared the sorrow and the joy. Yes, we indeed have a special friendship, and it seems to weather every storm.

We had spoken to each other earlier in the week to organise the day, but we didn’t set a time. And as we’re quite a distance from where she and her lovely new man were staying, they set out rather early. The result was that they arrived mid-morning ~ just as I was starting to prepare lunch! The kitchen was covered with uncooked food, there was stuff everywhere, and the vacuum cleaner was still sitting unused in the hallway … definitely not my style when greeting guests! Generally, I am Mrs Organised. The only thing we had managed to do before they arrived was set the table!

But you know what? We were so happy to see each other it didn’t matter a scrap! Between hugs, introductions, laughter, non-stop talking, the chopping of vegetables and the clanging of pots and pans, it all got done. I’m usually not good with people in my kitchen space. I like to get the cooking done on my own, by myself! So I created an imaginary no-cross line, and fortunately, they hung with Hubby on the other side of the kitchen counter while I got on with it.

When lunch was finally cooked, my humble offering was a winter vegetable soup served with beef rissoles, bread buns and chutney, and for dessert, we had chocolate cake with ice cream and strawberry sauce. When it comes to cooking I’m a taster and I add seasoning and flavour as I go along, so my recipes are never quite as exact as they should be, however, here they are:

Winter Vegetable Soup

I think everyone knows how to make vegetable soup ~ it’s pretty basic cooking. I generally make it with whatever I have in the fridge ~ the vegetables I used were as per the ingredients below, but I often also add peas, zucchini, and bok choy about 10 minutes before it’s cooked. It’s really up to you as to what you use and the quantities. I generally like lots of greens, but I used what I had. You can top each bowl with your favourite grated cheese and add sun dried tomatoes as shown below on the right, or add cooked sliced sausages, pork belly or chicken. That’s the beauty of a big pot of vegetable soup ~ you have an excellent base for a different meal every night from the leftovers in the fridge.

Veg Soup1

Veg soup with Sun Dried Tom and Swiss Cheese

Ingredients:

  • 3 parsnips
  • 1 smallish turnip
  • ½ large butternut pumpkin
  • 5 small new potatoes
  • 3 large carrots
  • 3 sticks of celery
  • 200-300 grams green beans
  • 1/4 cauliflower
  • 1 small broccoli
  • 20 snow peas
  • 1 large leek
  • 20 asparagus spears trimmed
  • 2 bay leafs
  • A few peppercorns
  • Enough water to cover the vegetables
  • Your favourite stock ~ mine is Marigold Swiss Organic Vegetable Bouillon Powder which is available at most health food stores and also online.
  • 1 tin of baked beans ~  butter beans are also good
  • 1 tin of creamed corn ~ if you want to use fresh corn then add it at the beginning with the other vegetables
  • Bunch of chopped flat leaf parsley

Method:
Chop all vegetables to about the same size, except for the leek which should be cut into half rings. Place all the vegetable bar asparagus, broccoli and snow peas in a large pot and add the water. Add a few tablespoons of stock powder and then taste about half way through the cooking to see if it needs more. Alternatively you can use pre-prepared liquid vegetable stock if you’re happy with the flavour. Bring to the boil and simmer for about 30 minutes, then add the asparagus, broccoli and snow peas and cook until tender. When ready mix through the baked beans and creamed corn. If you want to thicken the soup a little, blend some of the pumpkin and the potato. I served each bowl topped with flat leaf parsley, or as mentioned above, you can add almost anything you like! Also, note that soup is generally better the next day when all the flavours have had a chance to meld, and had I been energetic enough the night before, I would have made it then!

My Mother’s Rissoles

These are very yummy and also very tender. You can use any minced meat, even chicken mince, and add your own flavours and spices.

The Buns and The Chutney

My Mother's Rissoles

Ingredients for 16 Rissoles:

  • 500 grams of medium minced beef
  • 4 slices of bread ~  either white or wholemeal
  • Enough milk to cover the bread ~ if you have dairy issues, use oat or soy milk
  • 2 eggs ~ I usually whisk them before adding to the mix
  • 1 large onion finely chopped ~ either brown or white
  • Seasoning to taste with stock powder, tomato sauce, Worcestershire sauce
  • Flour for rolling the formed rissoles ~ I generally use rice flour
  • Olive oil or butter for frying ~ butter, of course, is more flavoursome

Method:
Soak bread in milk till it’s very soft, then squeeze out all the moisture. If the crust is not soft enough or a bit lumpy, then remove it. Cook the chopped onion till tender. When the onion is cooled slightly combine it with the bread and all the remaining ingredients, and mix together well with your hands. The mixture must be a sticky consistency. If it seems a bit sloppy then add some flour. Also, now is the time to taste it for seasoning. The mix needs to be fairly well seasoned, or the rissoles will be bland. Form mixture into rissole size balls and roll each one in flour. You can season the flour if you feel you want more flavour. If you will be cooking them later, then don’t flour them yet. This must be done just before cooking. Melt enough oil or butter (or both) on a medium to high heat to cover the base of the pan, add 4 to 6 rissoles at a time depending on how large your pan is, flatten them with a spatula, and brown on both sides. Then cook them on low heat for 3 minutes until cooked through. I served my rissoles on buns with the soup, but if you’re serving them on a plate with vegetables, you may want to make them a little special. When they are cooked, pour the fat off the pan, add back all the rissoles, and then add enough double cream to make a sauce. Be warned, everyone will love this so don’t skimp on the cream. Simmer covered on low for a few minutes. Taste the sauce to see if it needs seasoning. Generally it doesn’t. This makes a very rich, but beautiful, sauce.

Chocolate Cake with Strawberry Sauce and Ice Cream

This is so easy. It’s my favourite chocolate cake, and it’s a bought mix too ~ just follow the directions on the box. I always choose the ‘full fat’ ingredients as below, as I find the reduced fat option is a bit springy, and I don’t like it.

Choc Cake and Strawberry SauceChocolate Cake

Ingredients for Cake:

Ingredients for Strawberry Sauce:

  • 2 punnets of chopped strawberries
  • Water to cover half the strawberries
  • Castor sugar to taste
  • Squeeze of lime juice

Method:
Place all ingredients into your saucepan and cook for a couple of minutes till strawberries are soft but still have their shape. Remove strawberries and reduce liquid by half. Add strawberries back into the reduced liquid and blend with an electric hand mixer. Taste, and add more sugar if required. Serve warm or cold with chocolate cake and vanilla ice cream.

So that’s what we ate, and it was delicious! I must admit that I’ve never been caught out before not ready to greet my guests, but as I said, it didn’t matter. We spent our time lost in laughter and memories, and not for a second did we focus on our surroundings or how the meal came to the table. What matters most is the friendship ~ it’s what made our time together special. My friend lives in another state, and it’s quite likely it will be another ten years before we see each other again, but that’s OK! We had enough hugging and joy to last us a very long time.

P.S. We finished the soup three days later and the very last bowl was definitely the best!

Inara Hawley © 2013

A Winter’s Lunch

4 Comments

Last weekend we had friends to lunch. Now I know I’ve said I’m the No-Cook Cook, and as a general rule, I am. I would rather do something else. That doesn’t mean though that I won’t make an effort ~ I will, as long as it’s a quick and easy effort! Every time I think I might make something a little more special (which really means a little more complicated) I just cast my mind back to last winter. I had a week of madness where I decided to make proper pies ~ you know, the kind with two different pastries. Meat pies, apple pies … large ones, small ones … all very nice, but a nightmare ~ so fiddly and time-consuming! And whilst I was in the middle of crimping the pastry around the edges and popping on the egg wash, I suddenly thought, what am I doing? Am I mad? It’s like the time I decided to make crab-apple jam from our fruit-laden tree. The heavy branches were begging me to cook those luscious little apples! And it was delicious ~ I froze it and we had it over ice cream for two whole summers (it didn’t set like jam so we had lovely crab-apple sauce instead). But never again! Have you ever tried to core a couple of buckets of crab-apples … it’s painfully slow but has to be done ‘cause them little pips do not dissolve by themselves no matter what the recipe says!

Now back to our lunch! As I said, I’m happy to make a quick and easy effort, but having read my blog post about not cooking, I think our friends arrived with perhaps a touch of trepidation as to what they were going to get! They were after all bringing the wine, which by the way, was wonderful. But while I may not enjoy spending hours cooking on a daily basis anymore, I am happy to cook a beautiful meal for beautiful friends. Long gone though are the days when I want to impress anyone ~ what I put on the table these days has to taste and look good, but what’s most important of all, especially to me, is the heartfelt sharing of food with friends. It can make the simplest meal the most memorable and delicious.

So then, what to cook? Being winter, it’s still quite cool and as it was lunch it had to be warming and light. And as our friends love their food and wine I decided on four courses. He is a wine connoisseur currently writing a book on the subject, and they both love to cook, so I wanted to make my offering just a little special, and finally decided on French Onion Soup ~ delicious, Salmon ~ always good, Poached Pears ~ yum, and a Cheese Platter. And here are the recipes:

French Onion Soup with Cheesy Ciabatta Bread

Wine:
1999 Meerea Park Alexander Munro Semillon which won 5 Gold Medals

It’s been years since I’ve made French Onion Soup, and it was truly delicious! Even though this took a bit of time, it was worth it and it was also very easy. I didn’t have to stand over it and was able to do lots of other things while it was cooking.

A Winter's Lunch ~ French Onion Soup

Ingredients for 4 People:

  • 60g chopped butter
  • 2 tablespoons olive oil
  • 1 teaspoon salt
  • 6 thinly sliced onions (about 1kg) ~ I used 3 white and 3 brown
  • 2 teaspoons of brown sugar
  • 2 tablespoons plain flour
  • 4 cups of beef stock ~ I used ready made beef consommé
  • 1 loaf of sliced ciabatta bread
  • 1 block of Swiss cheese

Method:
Heat butter and oil in a heavy-based saucepan (this is important as you will be cooking the onions for quite a long time). Add onions and salt, and cook uncovered on a medium to low heat for 45 minutes stirring often until onions are very soft. Stir in sugar and cook for another 10 minutes stirring until onions caramelise. Then add the flour and continue to stir for2 minutes. Add the stock and about 1½ cups of water. Reduce the heat to low and simmer uncovered for about 15 minutes. For the cheesy bread top the ciabatta with Swiss cheese and heat in 180 C oven until melted.                                 

Salmon, Potatoes and Mushrooms with Honey Mustard Sauce, Asparagus and Carrots

Wine: 2011 New Zealand Babich Sauvignon Blanc
Salmon with asparagus is a favourite in our house, but I wanted to give it a bit of zing so added baked potatoes and mushrooms with honey mustard dressing. All of this was also very easy to make ~ one just needs to be organised so everything is ready at the same time, and organised is something I’m always on top of!

A Winter's Lunch ~ Salmon

Ingredients for 4 people:

  • 4 skinless salmon steaks
  • 6-8 small new potatoes scrubbed and quartered
  • 1 bag of medium sized button mushrooms cut into quarters
  • 4 bundles of asparagus with woody ends removed
  • 3 carrots julienned
  • Olive Oil, Butter, Salt and Pepper

Ingredients for dressings ~ Serve over salmon, potatoes and mushrooms:

  • 3 tablespoon of red wine vinegar
  • 3 tablespoon of whole-grain mustard
  • 3 teaspoon of honey
  • 6 tablespoons olive oil
  • 3 tablespoons chopped fresh flat leaf parsley

Method:
Toss the quartered potatoes in olive oil, salt and pepper, and bake in 200 C oven in a large bake-to-table dish until tender. Cook the quartered mushrooms in a large pan until slightly browned, and add to the potatoes in the oven when done, to keep warm. Cook the asparagus and julienned carrots, and toss in butter. Sear the salmon on both sides and cook as desired from rare to pink. Serve salmon with the potatoes, mushrooms and dressing, and the asparagus and carrots in a side dish.

Poached Pears with Raspberry Sauce and Ice Cream

Dessert Wine: 2006 Riverina Wolf Blass Gold Label Botrytis Semillon
Poached Pears done in red wine were always a favourite in the seventies, but raspberries sounded just right for lunch. Again, an easy dish to make especially as it was done in the slow cooker. I switched it off when it was done and turned the pears a couple of times so the colour was pink all the way around. As for the dessert wine, I’m not a great wine drinker these days but I did try it, and it was really good. Perfect with the pears!

A Winter's Lunch ~ Raspberry Poached Pears

Ingredients for 4 people:

  • 4 pears
  • 1 cup castor sugar
  • 150g frozen raspberries
  • 1 teaspoon vanilla bean paste
  • 2 cups cranberry juice
  • 1-2  cups of water depending on how strong you want the mix

Method:
Combine sugar, juice and water in a saucepan over medium heat. Cook stirring until sugar is combined. Add vanilla and raspberries. Place pears in the slow cooker and add enough of the juice mix to cover halfway up the pears. Cook on high in slow cooker for 1¼ hours or on the stove top until the pears are tender turning every now and again so the colour is uniform all the way around. Place the balance of the mix in a saucepan and slowly reduce to a thick sauce. Serve pears with the reduced sauce and ice cream.

Coconut Milk Ice Cream

I even made some coconut milk ice cream for myself (I tend to get cow belly), and it turned out very well and was great with the pears though I don’t think I’ll make it again. It took practically all day having to blend it every hour. An ice cream maker would have made it lot easier of course. I used to have one, but never used it so gave it away. I think my sister might have it, and I don’t think she uses it either!

A Winter's Lunch ~ Coconut Ice Cream

Ingredients:

  • 1 can of coconut milk
  • 1 can of coconut cream
  • 2 teaspoons of vanilla extract
  • ½ cup of honey

Method:
Blend all ingredients with an electric hand blender and pour into a large freezer-safe bowl. Freeze covered for about 30 minutes, take out and re-blend. Return to freezer and blend again every half hour until ice cream is creamy and frozen through. This takes quite a long time so start making it early in the day. Then pour into a freezer dish, smooth down with a spatula and press plastic wrap to the surface. Freeze overnight. If it freezes rock solid, which it’s not supposed to but mine did, leave it out for 15 minutes before serving and it will be perfect.

Cheese Platter

A Winter's Lunch ~ Cheese Platter

It’s always nice to linger over coffee with a cheese platter, but at the end of the day, it was a touch too much food. It was, however, was absolutely delicious for dinner that night as we sat in our comfy chairs and thought about how nice it was that friends made the effort to come such a long way to see us. It was well worth cooking something just a little special!                       

Inara Hawley © 2013

The No-Cook Cook

7 Comments

That’s me ~ the no-cook cook! I simply don’t enjoy cooking anymore. If it’s not easy, I don’t cook it. In fact an in-house chef, possibly named Herb or Basil, is on my wish list!

When I think back on the huge amount of cooking I used to do I can’t imagine being there now, so as this is a post about how much cooking has changed in my life it’s very appropriate that it is the first in the category of ‘Food Glorious Food’.

The reason cooking has had such a metamorphosis over the years is simple ~ it has changed with the changing chapters of my life. They say there is a time for everything, and when I think back that’s certainly been true for me. I’ve had my glamorous years when I was at the beauty salon regularly having top to toe sessions, my creative years when I painted, sculpted and sat with my mother sharing quiet winter evenings with only the sound of our clicking knitting needles, my craft years when I marshalled a whole school community into making all manner of things for annual fairs, my volunteering years where I spent much time joyfully giving, my gardening years when I turned a barren hillside into acres of magnificent garden, my studying years when I buckled down and became a herbalist and got a teaching degree. Yes, there are most definitely special times to do certain things in one’s life, and in looking back, my culinary endeavours have moved with those times.

Formal Dinner Party TableSo back to cooking! In the seventies my world was a whirlwind of formal dinner parties, and they were very, very flash! Never ending four course dinners with no less than ten guests sitting under sparkling chandeliers was the norm! I usually started preparing two days in advance. Why? Because we were all on a merry-go-round of cooking authentic French food … rich, creamy and delicious!

In reality, we were all absolutely crazy in the seventies with our over-the-top dinner parties. I even kept a guest book so I knew not to serve the same dish twice! My table was set with crystal glasses, silver cutlery and linen serviettes. The soup was served in the finest tureen, the crepe suzettes were cooked at the table and there was a different wine for every course, including after dinner liqueurs served with frozen grapes, Turkish delight and brie. It was grand indeed, but to be fair, for us, many of those dinner parties were business related ~ we often had overseas associates at our table and the bank manager was a frequent guest ~ so being on top of my game was rather important. There was a five year period where business was so brisk we had a formal dinner party every Friday and Saturday night. It didn’t take long before I could make the perfect boeuf bourguignon and crème brûlée with my eyes closed! Life was very impressive and quite often, rather extraordinary.

The No-Cook Cook - On The BBQThen came the eighties, and it was all about el fresco outdoor dining. Cooking became far more casual. Hubby was king with the barbeque tools and I swanned around with an outstanding afro perm, big earrings and shoulder pads! Upmarket barbeques with dips, fabulous salads, trifles, cheese boards, quiches and cask wine were all the rage, but as I was studying and dispensing herbal medicine in the early eighties, everything in my house was made with the biodynamic and organic food which filled my cupboards. A juicer and a seed sprouter had pride of place on my kitchen bench. My life was immersed in motherhood, school, craft, volunteering, the alternative lifestyle and lots of good healthy food. But there was also lots of fun too. We were all youngish parents with growing children, and together we all had a ball ~ life was one big party! It was an exhilarating time.

And then came the nineties and I was studying again, this time for a teaching degree. We also had a new business and were building a new house, and for the first time in my life I was creating a garden, so life was extremely busy. Cooking was still healthy, but it had to be simple and quick ~ there was no time beyond getting it out of the cupboard and onto the table. Yes, the nineties were demanding and proved to be very challenging, and apart from special occasions, cooking food was almost an afterthought.

And now in the two thousands, I have more important things to do than cook! I would raThe No-Cook Cook - Banana Pancakesther sit and write. That doesn’t mean we don’t eat beautiful food, we do! Just last night I cooked pancakes ~ 1 banana, 2 eggs, honey, vanilla and cinnamon. A quick whiz, on the pan and ten minutes later they were done! Easy peasy is what it’s all about in my kitchen these days. The crystal glasses, the silver cutlery and the wine carafes have long since been given away and now grace other tables. Life is quiet and joyful, and food is quick, easy and simple. I have however, kept my three dinner sets and bouillabaisse dishes just in case. So Herb and Basil, if you’re out there and can hear me, my home is your home!

Inara Hawley © 2013