Spinach Triangles

1 Comment

Greece would have to be one of my favourite countries. I have wonderful memories of the Greek Islands and the food. Greek yoghurt and honey for breakfast, dolmades and stuffed peppers for lunch and spanakopita (spinach pie) for dinner. I remember it all, and it was wonderful, but apart from stuffed peppers I’ve never made Greek food.

So, fast forward to last weekend. I was expecting guests and had a hankering for spanakopita. So as you do, I visited YouTube for the visual delight of seeing it made. I was impressed. I quickly scribbled out the recipe and went shopping. I was so impressed in fact, that I decided to make two – one for my guests and one for the freezer.

I spent half a day chopping and crumbling – there was a mountain of baby spinach to destalk and chop, and another mountain of feta to crumble. I followed the recipe to the letter, and when it came out of the oven, it looked fabulous! It even looked fabulous on the plate… that was until we tasted it. My guests were very polite and ate it, but for me, it was so overpoweringly salty, I couldn’t stomach it. So sadly, what was left went in the bin as did the spanakopita that was in the freezer.

Not to be beaten though, I decided to make spinach triangles with the remaining ingredients. I did a little research and came up with my own low-salt recipe, and the result was perfect. Exactly as I imaged the spinach pie should taste. So here’s my recipe…

Spinach Triangles

Ingredients: Makes 27 triangles

  • 1 packet of filo pastry
  • 250 g baby spinach
  • 10-12 baby spring onions
  • 250 g soft creamy ricotta
  • 50-75 g of full fat feta
  • Milk to soak the feta
  • ½ cup grated cheddar or tasty cheese
  • 2 eggs lightly beaten
  • Melted butter or olive oil to brush filo
  • Salt and pepper to taste

Method:

  • Preheat the oven temperature to 180 degrees Celsius
  • Place the feta in a bowl of milk and allow to soak for half to one hour. This is to reduce the salt. If you like it salty, then miss this step
  • Finely slice the baby spring onions
  • Destalk the baby spinach and finely chop
  • Add the spinach, spring onions, ricotta and grated cheese to a large bowl and crumble in the feta, then mix well with your hands
  • Taste and season for salt and pepper, then mix through the lightly beaten eggs
  • Place two sheets of filo onto the bench, brush lightly with olive oil or melted butter and cut into three lengthwise strips
  • Place a spoonful of the mixture onto a corner of the filo strip making a triangle and keep folding over to the end of the strip. Repeat until all the filo used.
  • Brush the triangles with olive oil or melted butter and place on a tray covered with sprayed baking paper
  • Bake for 25 minutes at 180 degrees Celsius

Enjoy and happy cooking!
Inara

Inara Hawley © 2018

Cauliflower Pizza Base

Leave a comment

I’ve been wanting to try a cauliflower pizza base for ages, and as I had a big bowl of riced cauliflower and broccoli sitting in the back of the fridge that needed using up, the time had come. And surprise of all surprises, it worked perfectly! Why do I say that? Because I’ve heard of some monumental disasters.

So, I watched with some trepidation as it cooked in the oven, browning nicely. Then it was time to flip it. Would it work? It certainly did! I was amazed. And when out of the oven sitting there in all its topped glory, would it cut without crumbling? Well, it sliced beautifully, and we could even pick it up like a regular slice of pizza. To say I was impressed is an understatement. And of course, those of you who are wheat intolerant like me or into a Keto-based diet, it’s the perfect alternative. So here it is, and as you will see, there is a trick to it.

Cauliflower Pizza Base

Ingredients:  Makes one medium sized pizza base

  • 1 large egg
  • 5-6 cups cauliflower rice (I included broccoli rice)
  • 1 teaspoon of dried herbs of your choice
  • 1/3 cup soft goats cheese or 1/2 cup grated mozzarella/parmesan/vegan cheese
  • Salt and pepper to taste
  • Topping: Toppings of choice plus cheese of your choice

Method:

  • Preheat the oven to 220 C/450 F.
  • To rice the cauliflower, place washed florets into a food processor and blend until you’ve reached the required consistency.
  • Next, the cauliflower rice needs to be cooked for a short time to bring out the moisture. You can do it several different ways. Either on baking paper in a moderate oven for about 15 minutes, cooked for about 5 minutes in a covered pot filled with about an inch/3 cm of boiling water and drained, or heated in a large oil-sprayed pan on the stove, stirring occasionally to avoid burning (my choice).
  • When done, place a thin towel on a large plate or in a large bowl and spread the cauliflower out on top to let it cool.
  • Now this is the trick, but don’t do it while the cauliflower is hot. When cool to the touch, pull the ends of the towel together and twist the cauliflower into a tight ball, and then with all your might, keep tightening to squeeze out ALL the liquid. This takes quite a bit of strength and was too much for me, so I used a spatula – I squashed the liquid out of the ball onto the plate and drained it off. It was easier and worked well.
  • Next, in a large bowl whisk together the egg, dried herbs, salt and pepper.
  • Then add the cheese and cauliflower ball and mix well with a fork.
  • Place mixture on an oven tray covered with oil-sprayed baking paper, flatten and make it into the shape you want. The thickness should be 1/2 to 3/4 cm or 1/4 inch. Don’t make it too thin or you won’t be able to flip it.
  • Bake for about 20 minutes at 220 C/450 F until it’s nicely browned, then take it out of the oven, flip carefully with two spatulas and bake for another 2-3 minutes.
  • When it’s ready, add your toppings plus cheese and bake until the cheese is just how you want it. If you like it bubbly and you’re worried about the pizza edges burning, put it under a hot grill for a minute.
  • When done, carefully slide it onto a plate and slice.
  • NOTE: It’s fine to add a thin layer of tomato-based sauce before you add your toppings once the base is fully cooked – it won’t soften or cause the base to crumble.
  • NOTE: I haven’t done it, but apparently the base can be frozen.

So, there you have it – the all vegetarian pizza with a dash of cheese.

Happy cooking and enjoy!
Inara

Inara Hawley © 2018

Green Tomato Jam

Leave a comment

What’s a girl going to do with the last of the tomato crop after she’s already made enough tomato relish to last six months? Green tomato jam of course. I’ve never made it before, but as I discovered, it’s very easy and it’s also very delicious.

Green Tomato Jam

Ingredients:

  • 1 kg of small green tomatoes
  • 750 grams of white sugar
  • Juice of 2 lemons

Method:

  • Wash and cut the tomatoes into quarters – no need to peel
  • Place into a large bowl and add the sugar and lemon juice – mix well
  • Cover and set aside overnight
  • Next day transfer the contents and all the liquid into a large pot
  • Bring to boil and simmer for half an hour as it thickens stirring frequently
  • Allow to cool and transfer to sterilised jars or containers and freeze

Enjoy and happy cooking! 

Inara Hawley © 2018

Rich Tangy Tomato Relish

Leave a comment

Looking for a rich, tangy tomato relish? Well, this is it.

I never bothered making my own relish until Hubby needed to go on a low-sodium diet. I was stunned at how much salt there was in tomato sauce, which he loved, so started looking around for alternatives. The local cafe sold a nice enough relish without any salt, but when I looked at the ingredients, I thought…. hmm… I could make this. So, I found a recipe with the same ingredients and I made it. And it was OK – a sweet, tangy relish but a bit on the thin side.

Then… we grew our own tomatoes and what a difference. We had a bumper crop, but they were the small variety. The recipe calls for 4 kilograms and they need to be peeled, so I’d always bought large tomatoes, peeled and chopped them, and into the pot they went with all the other ingredients. But as these were small I couldn’t face all the peeling, so decided to roast them and squeeze out the flesh. Well, we all know how roasting intensifies flavour, but this was unbelievable. For a start, our tomatoes tasted a 100% better than what I bought at the greengrocer, and secondly, the roasted flavour was out of this world. So, here is my recipe.

Rich Tangy Tomato Relish

 Ingredients:

  • 4 kgs ripe tomatoes
  • 1 1/2 kgs white onion
  •  1 1/3 kgs sugar
  • 3 tbs curry powder
  • 4 1/2 tbs mustard powder
  • 1 2/3 litres white vinegar
  • 1 tbs cornflour
  • salt and pepper to taste

Method:

  • Roast tomatoes until soft, squeeze the flesh into a bowl and discard skin
  • Place the tomato pan juices into a saucepan, bring to boil and allow to thicken
  • Peel and finely chop the onions, place in a large pot and cover with the vinegar
  • Add the sugar and boil rapidly for five minutes
  • Add the tomato flesh and turn the heat down to a simmer
  • Combine the spices and stir into the relish mixture
  • Simmer gently uncovered for one hour, removing scum and stirring frequently to prevent burning
  • Add salt and pepper to taste at any time during the cooking process
  • When the tomato pan juices have cooked down add them to the mixture
  • After one hour the relish should have thickened, look rich and taste tangy
  • For the final thickening mix the cornflour with a little water to make a paste
  • Add a little hot liquid to the paste, mix well and stir into the relish
  • Add the paste to the relish and cook for 5 minutes stirring continuously
  • Either bottle into sterilised jars or place into containers and freeze

Enjoy and happy cooking! 

Inara Hawley © 2018


Veggie Egg Muffins

Leave a comment

This is so easy and simple that it doesn’t need a recipe, but the photograph is so appetising and they are so delicious, I decided to share it anyway. These are perfect for a quick breakfast, lunch or summer dinner with a salad.

Veggie Egg Muffins

Ingredients: Makes 12 muffins

  • Half a small cauliflower, riced
  • One head of broccoli, riced
  • You can use any grated vegetable you fancy
    • A nice alternative is corn and grated zucchini
  • Vegan or dairy cheese – as much as you like
  • 10 medium size eggs (700g)
  • 1/2 cup of milk (I use oat milk)
  • Seasoning to taste – salt, pepper, onion powder, parsley
  • Olive oil or butter

Method:

  • Place the riced cauliflower and broccoli in large mixing bowl
  • Note: if using grated zucchini, squeeze out the excess moisture first
  • Add as much cheese as you like and mix well
  • Spray a large 12 cup muffin trays with olive oil or grease with butter
  • Fill each muffin cup to 3/4 with veggie and cheese mix
  • Whip eggs well with milk and add seasoning and parsley
  • Fill each muffin cup with the egg mixture till all used
  • Then bake in a 180 degree oven for 20-25 minutes till nicely browned
  • And then eat ’em!

Enjoy and Happy Cooking!

(c) Inara Hawley 2018

Do You Buy Mayonnaise?

Leave a comment

Do you buy mayo? Well stop it! Making your own takes just 3 minutes. Truly, only 3 minutes including getting all the ingredients out, and it’s delicious! Plus, you won’t be adding to the recycle pile of glass or plastic with an empty jar of mayo every month.

So, are you ready? Grab the oil, vinegar, eggs, dijon mustard, salt and pepper, your measuring jug, teaspoon and stick blender, plus a wide-mouthed jar… and away you go!

Avocado Mayonnaise

Mayo Ingredients - Sunday MusingsJar of Mayo - Sunday Musings

Ingredients:

  • 3 egg yolks
  • 100 mls of avocado oil
  • 100 mls of olive oil
  • 2 teaspoons Dijon mustard
  • 2 1/2 teaspoons white vinegar
  • 1/4 teaspoon Himalayan Pink Salt
  • 2-3 turns of the pepper mill

Method:

This is the fun part. Put all the ingredients into your nice clean jar and whizz for about 20-30 seconds till blended and the consistency is just right. If it’s a little thick for your liking, add some cold boiled water and whizz again till you’re happy with it. It lasts about a week in the fridge, which is just about right in our house. Sometimes I make it twice a week depending on who I’m feeding.  So, pop it into the fridge, and enjoy!

So, there it is! I use it instead of butter on bread. It’s fresh, it’s delicious, and it’s lovely with boiled eggs or a salad sandwich. And… you can experiment with different oils. How cool is that!

Happy cooking! 

© Inara Hawley 2018

Losing Weight, the Quick and Easy Way

4 Comments

In my quest for living well, in early March I decided to divest myself of the 15 odd kilos I’d been carrying around for the past 20 or so years. Up until then I’d not really thought it was an urgent issue, and while I knew the extra load was harder on my body and overall health, I’ve never presented with any blood pressure or cholesterol problems. And after all, my Rubenesque curves were sexy, and I have never felt anything but gorgeous or loved so it was not something I worried about. However, my recent and very surprising blood pressure blip gave me a big push. So I gave myself to the end of May to do it. While most of us don’t find it that easy with temptation around every corner, especially if you’re also cooking for others, when things get serious, that’s when the weight drops off. And I had never been more serious in my life!

There are four important things about losing weight ~ eating ‘real’ unprocessed food, eating what’s right for your body which of course is different for each one of us, staying as active as you can, and the most important ~ doing all of those things at the same time.

Generally speaking, my weight doesn’t fluctuate, but it is influenced by my lifestyle. I lead a fairly sedentary life due to injuries so what I eat has a bearing on my weight. Lots of exercise would be great of course ~ it keeps you healthy and strong, but here’s the thing. Exercise is not what losing weight is about. Exercise is about getting fit and toned. Losing weight is about what you eat. But the big win is, when the weight comes off, it’s so much easier to get moving.

Now, having said all of that, I am not a believer in denying myself foods that I really enjoy, however, the old adage, ‘moderation in all things’, goes a long way when it comes to what you put in your mouth. Most times when we eat that piece of chocolate cake or that bag of hot chips, a taste is all we really want. I know I never feel great after stuffing down a sweet dessert or a whole lot of fried potatoes. And as I would rather feel good I rarely do it. You have to listen to your body. And when you do, I can tell you, you will be choosing food your body loves, not food that you’ve been conditioned to eat from childhood. When you eat a healthy, balanced diet that’s right for your body, I guarantee you will rarely crave sugar, salt, or processed food.

So, my weight-loss journey is nearly over, and my goal is nearly reached. Just under 2 kilos to go and I’m done, and here’s how I did it.

Calories Matter

As I am not active, counting calories is something I had to do. People will say it’s not important if you focus on eating the right kind of food and keep active, but the bottom line is this ~ if you put more calories in than you expend, you will not lose weight. It’s as simple as that. However, if you have been eating a diet high in processed, fatty, or sugary food, changing that will certainly do the trick and you will probably never have to count a calorie. I, however, rarely eat any of those things, so my only option was to limit my calorie intake. I know I have to eat 800 calories or less per day to drop weight so that’s what I did. I looked at what I was eating and tailored my diet to the lower calorie foods. For example, prawns and strawberries are both low in calories, so I chose those instead of the high-calorie cashews, walnuts and quinoa I was eating at almost every meal. Easy choice, and when you substitute food that you really enjoy eating, you have to ask yourself ~ how does it get better than that?

Keep A Food Diary

I found this invaluable. It kept me accountable with my calorie count as well as my sodium count, which I’m watching as well. When one has a goal one has to be accountable, or there is no serious commitment. And if that meant keeping a food diary while I was getting there, I was more than happy do it!

Eat the Right Kind of Calories

Now this is, and always will be, important for my body and my health. For instance, eating dairy and wheat on a regular basis doesn’t agree with me so I don’t do it. I eat a little occasionally if I feel like it, but not every day. If we consume foods we are sensitive to on a regular basis, it causes internal inflammation the result of which is flatulence, stomach pain, and bloating. This negatively affects both digestion and nutrient absorption, which in turn has an impact on metabolism, energy, and weight.

And if my 800 calories would be mainly made up of processed foods full of fat and sugar, or high carbohydrate foods such as starchy vegetables, pasta, bread or pizza, even if I wasn’t sensitive to any of those foods, I would not lose weight either. So I kept it low carb, low fat, and no sugar. Spreading an 800 calorie pizza over a day just wouldn’t cut it and I’d probably still be hungry. Eating the right kind of calories, however, kept me very satisfied and it worked very quickly.

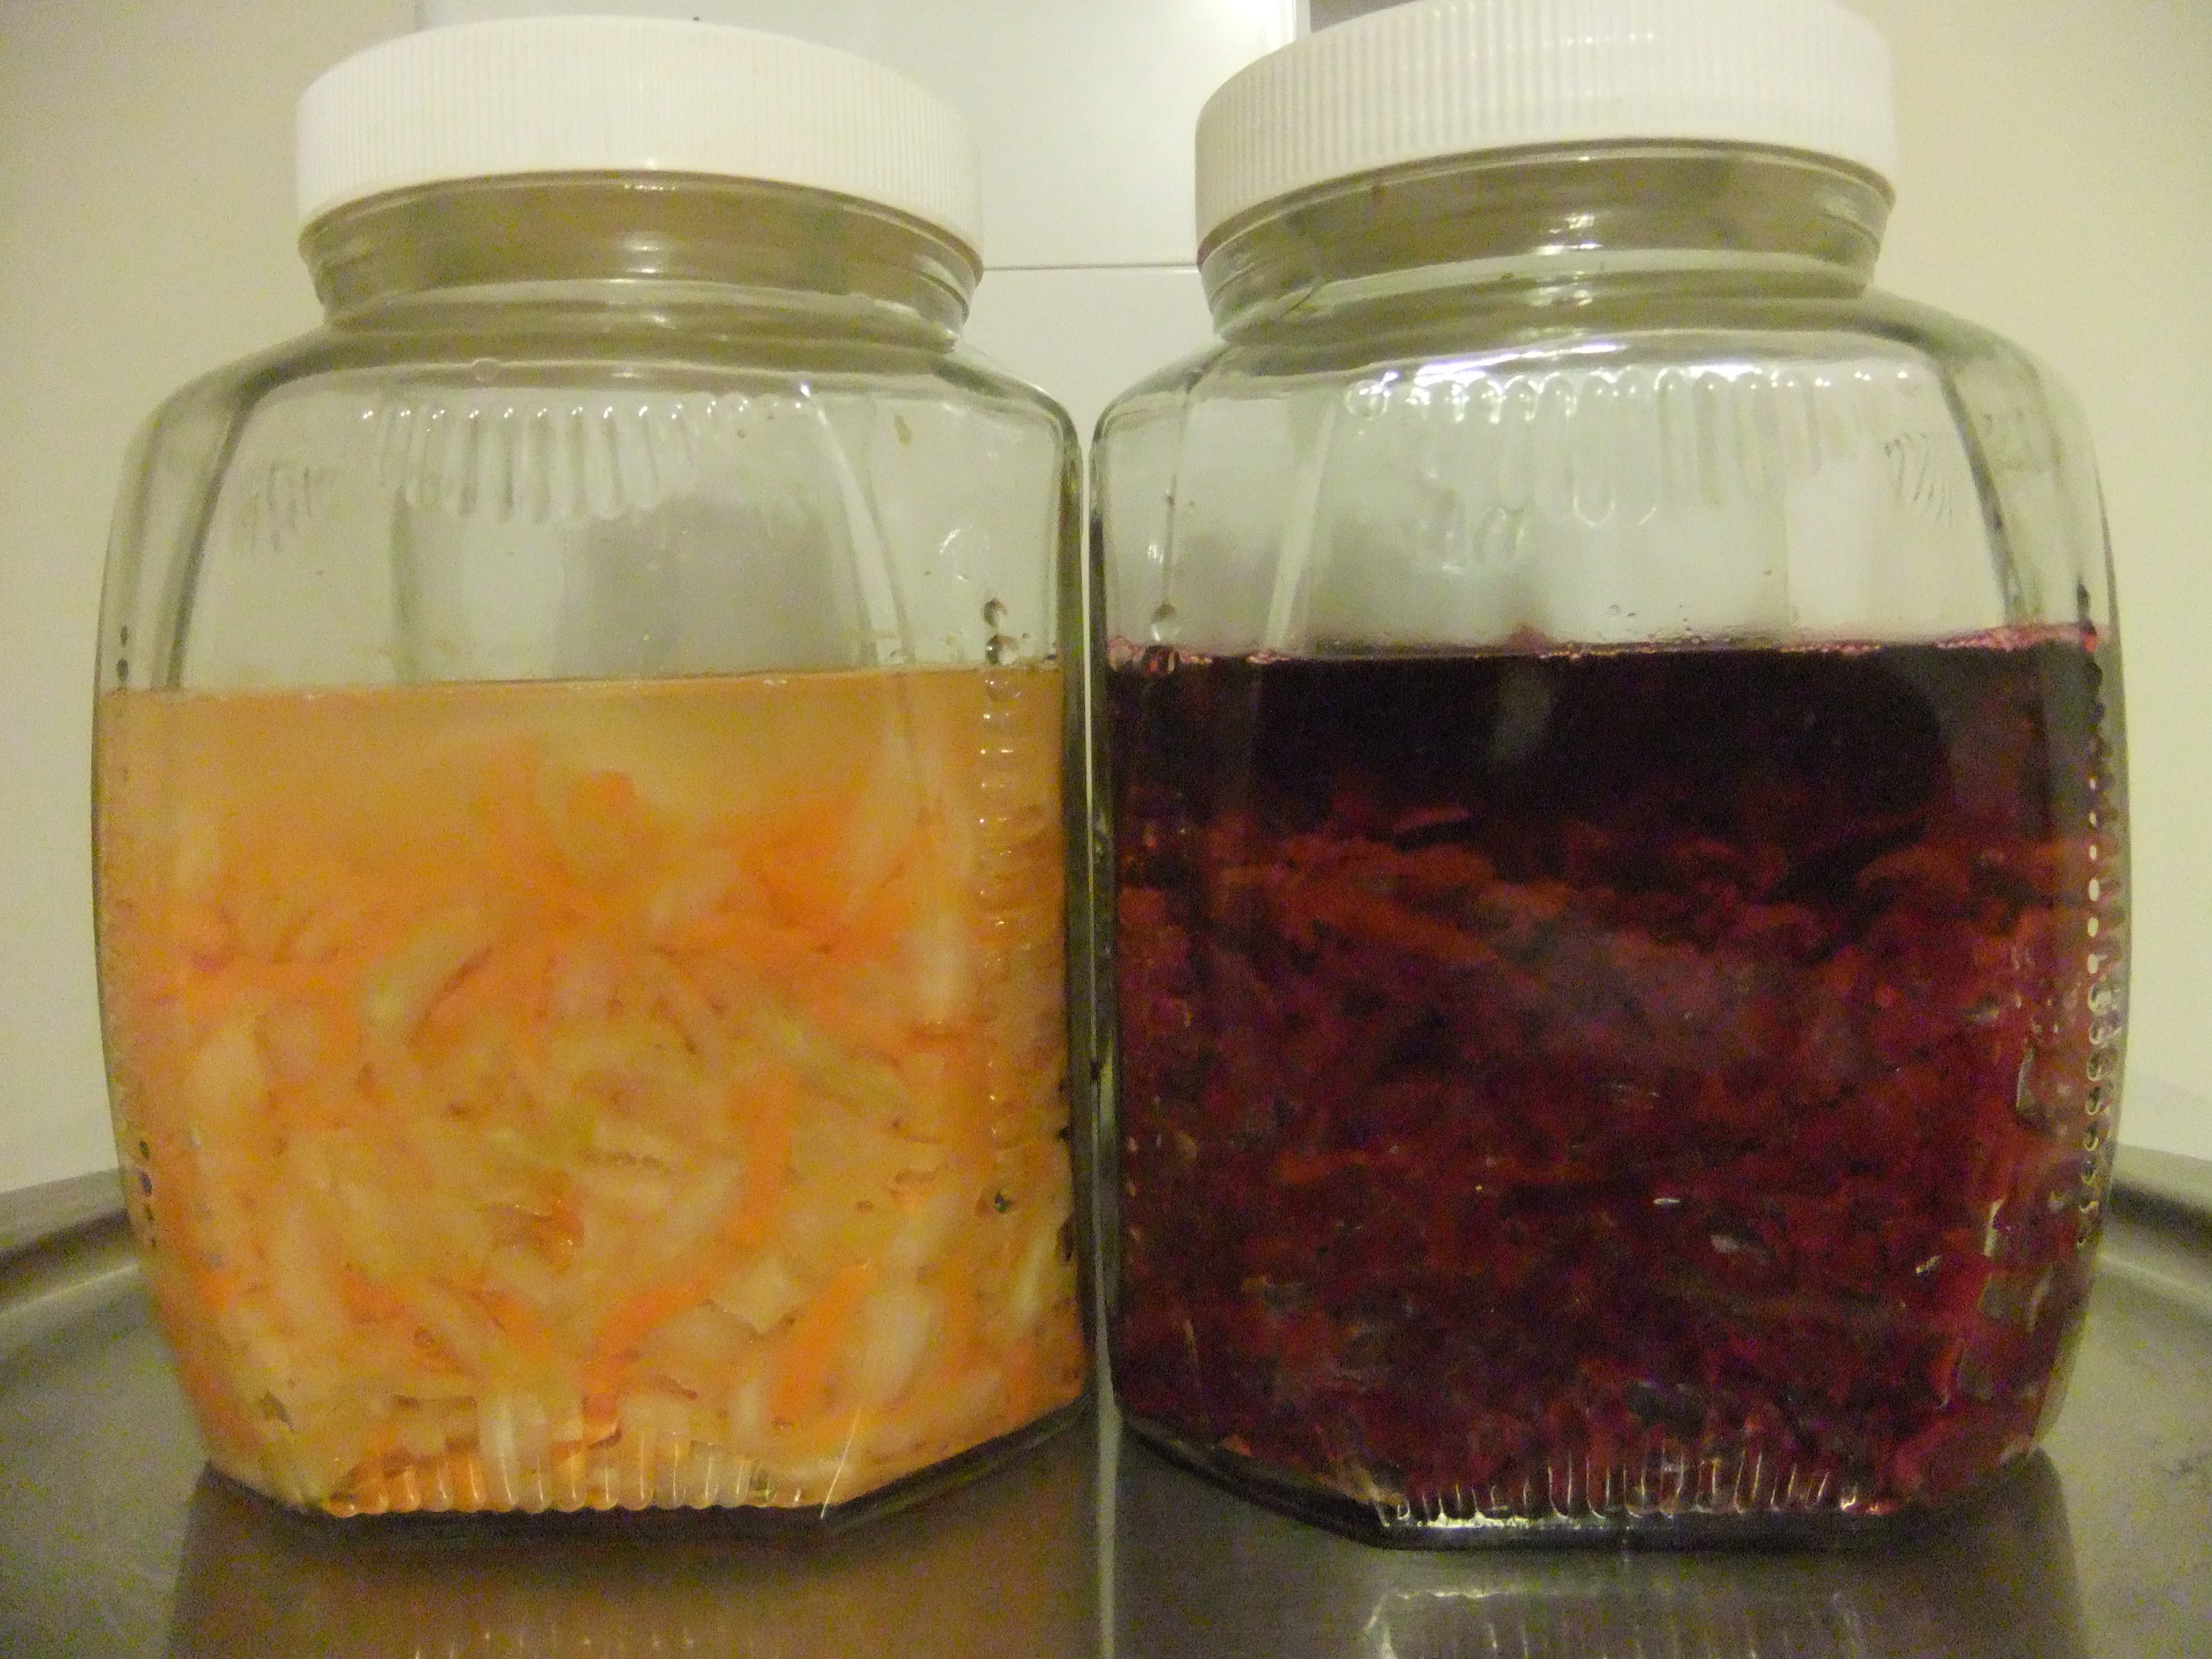
Below is my basic food list. I made vegetable soups, steamed vegetables, stir fried vegetables, and salads, and to those I added protein, and if I was particularly hungry, I threw in some konjac noodles. Every meal included vegetables and a protein, even breakfast. My in-between snacks were fruit, or half a dozen almonds, or rice thins with either hummus, cucumber and tomato or cheese and sauerkraut.

Sunday Musings - Losing Weight

*These were very ‘occasional’ foods when I felt like it. As I say below, I didn’t deny myself, but I did keep a tight control of what I ate.

**Konjac is a vegetable based noodle. The product is called ‘Slendier’ and is available in supermarkets. It has almost no calories and can be added to soups, stir fries etc.

Don’t Deny Yourself

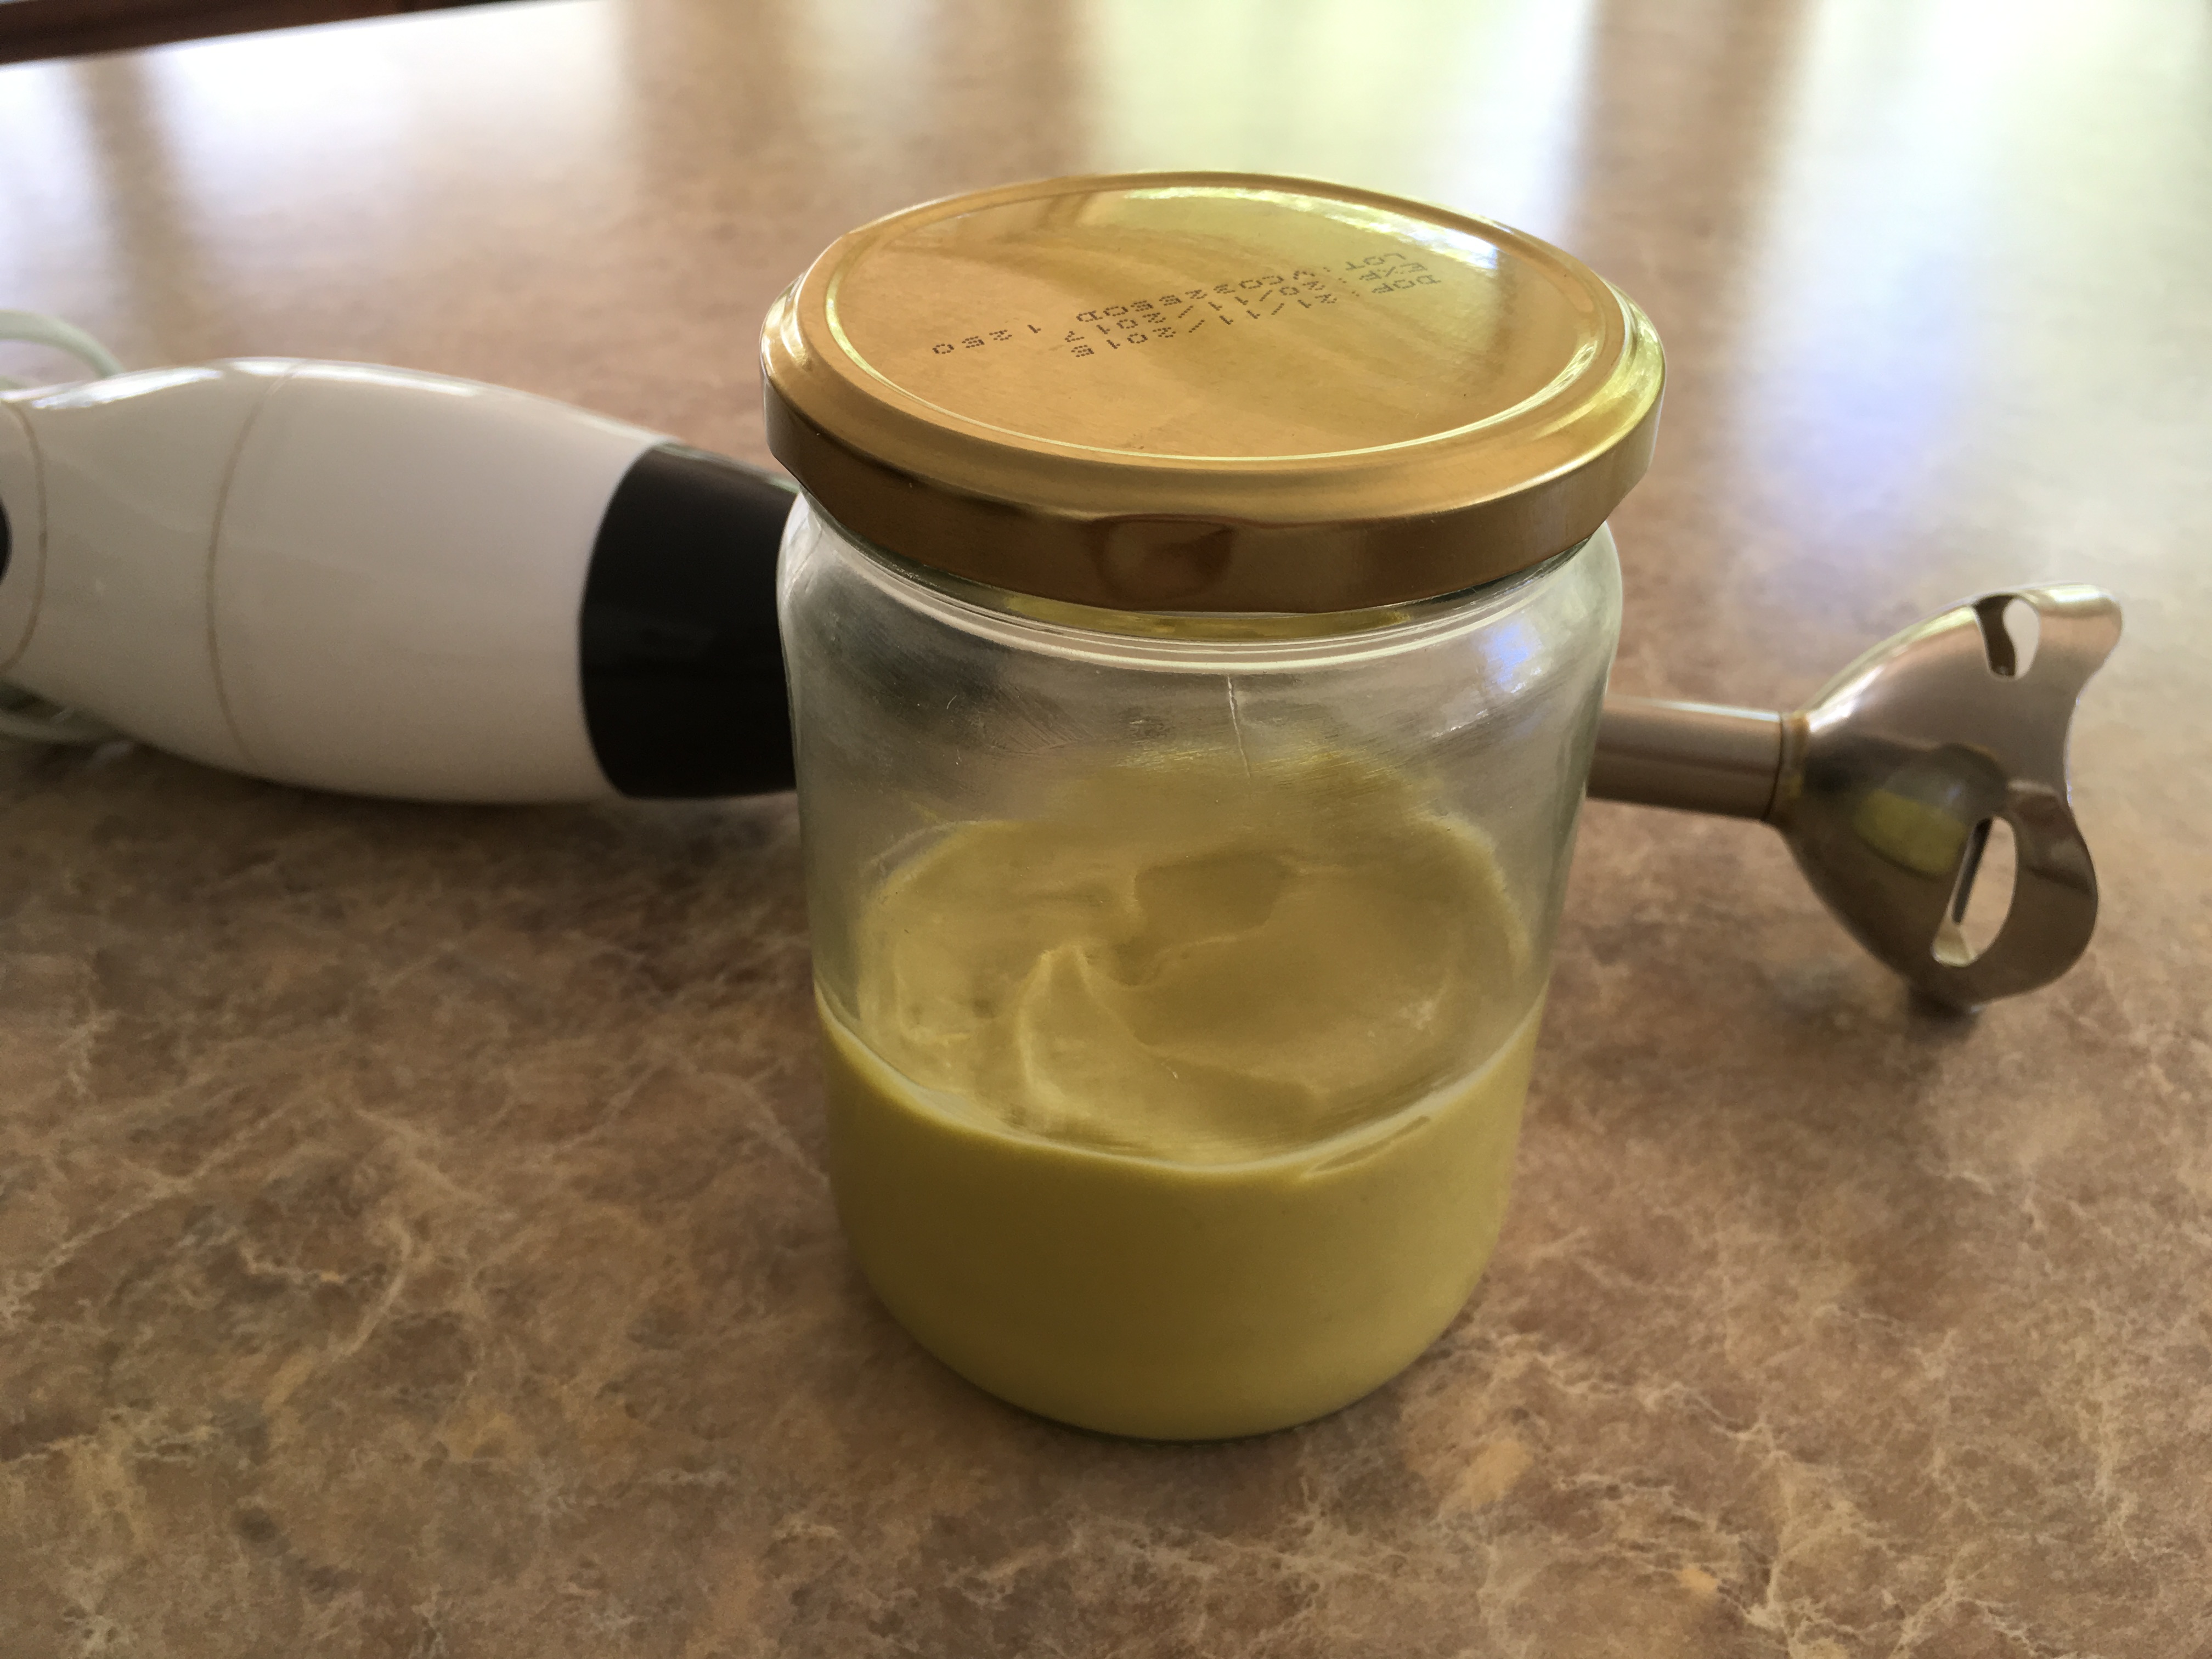
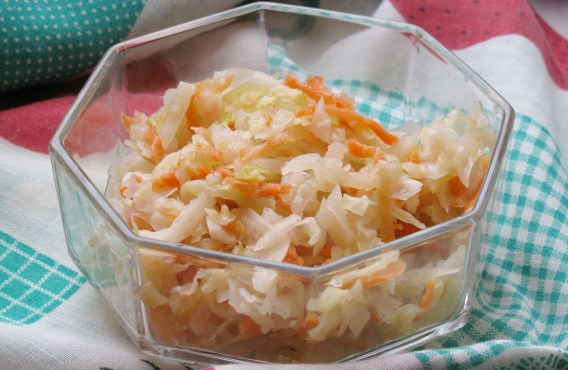
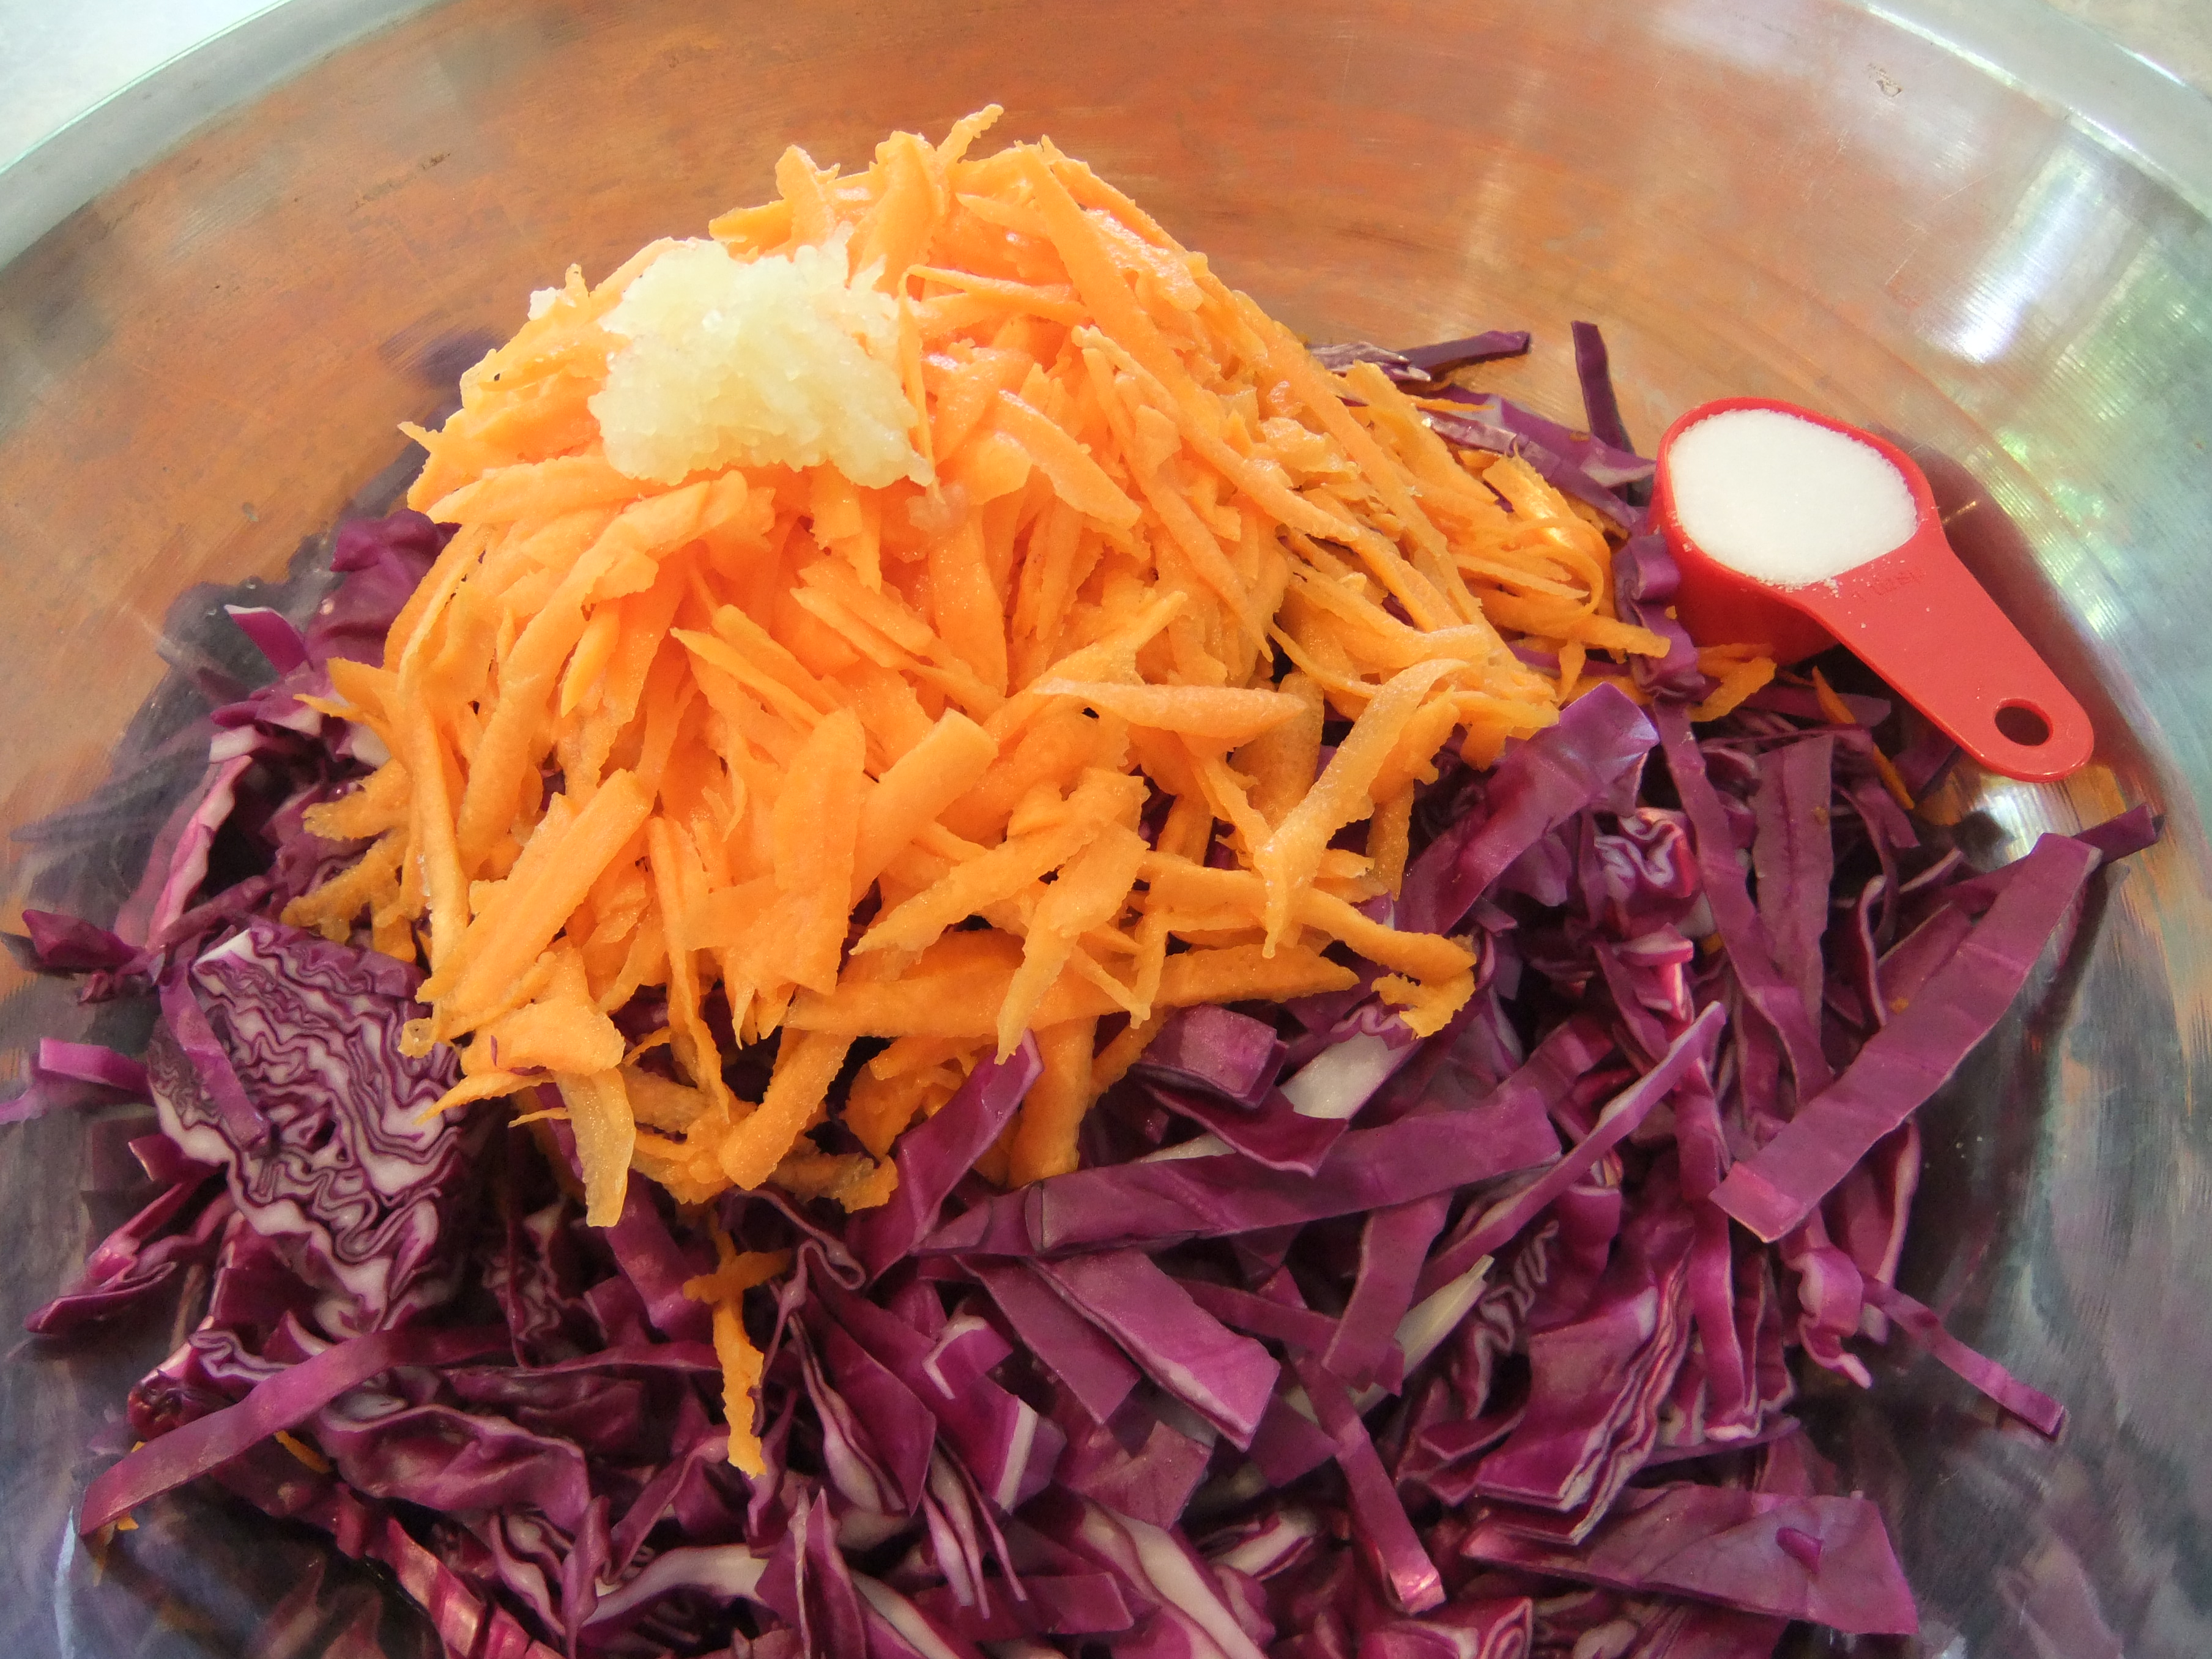
I organised my diet around my favourite foods. Being almost vegetarian there wasn’t much to change, but there were a few high-calorie foods and starches I could easily take out for a few months. Then I looked around at what else I could include for variety. I found a brand of low-calorie frozen dumplings and battered Hoki fish which I really like, plus two brands of tinned tuna which I enjoy as well. This mixed it up a bit and made my meals more interesting. As for condiments, I didn’t deny myself there either. I included sauerkraut and balsamic vinegar plus my favourite dressing and seasoning but was less liberal with the good oils and fats using only olive oil spray, and a scrape of butter when I felt like it. For added flavour, I used more herbs in my cooking but cut out added salt altogether, which turned out to be a blessing because I began to taste the food I was eating rather than the salt I was putting on it. And as you can see it was all delicious.

Sunday Musings - Losing WeightSunday Musings - Losing WeightSunday Musings - Losing Weight

Size is Important

The size of my meals was really important. On the days I ate bigger meals, even if they were within my calorie limit, my weight loss was less. When I ate carbs was also important. For example, if I ate carbs I had them earlier in the day rather than for dinner as heavier meals in the evening tend to bog down my digestive system. Overall, I found it was best to keep my meals small and light, and if I felt hungry, I had a mid-morning and a mid-afternoon snack. The bottom line is the lighter I kept it, the better I felt and the lighter I got.
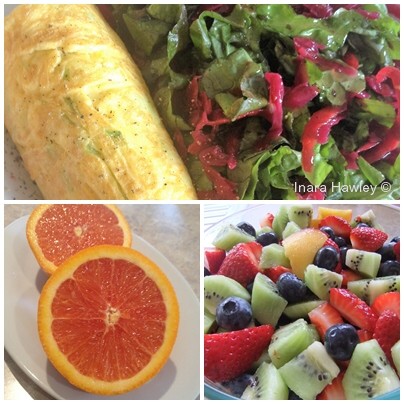
Celebrate Your Food

Every meal I make I salivate over. I really do. Celebrating food is what my family has always done. It makes the most ordinary meal so much more special. I always make time to serve my food beautifully on a nice plate and I do the ‘doesn’t this look wonderful ~ aren’t I lucky’ thing before I tuck in. My appreciation and thankfulness are boundless when it comes to the abundance on my daily plate. I feel so fortunate. To enjoy our food with gratitude and all of our senses bursting with joy is the added bonus to a good meal don’t you think?

Cook Ahead

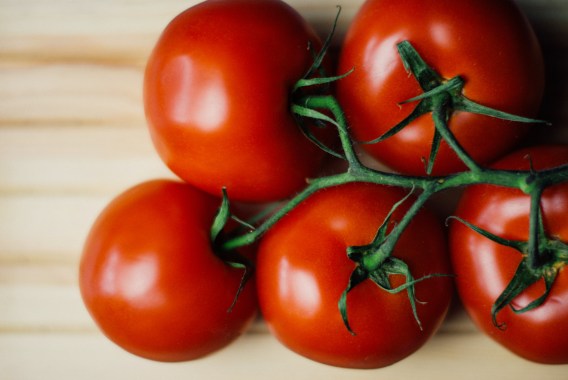
My last tip is to cook ahead. It makes life so much easier and you won’t be tempted to go to the freezer and get out something, which later, you may be sorry you ate. I fill my fridge with bowls of luscious salads, rosy tomatoes, crisp cucumbers, perfectly cooked vegetables and my favourite proteins. And then when it’s time to eat, it’s like a smorgasbord ~ inviting, appealing, and most of all easy. Nothing like delicious anticipation is there?

So, that’s my weight-loss story and I’m stickin’ to it because it worked for me. If you want to drop a few kilos quickly, give it a try. My way turned out to be very easy. But remember, whether you do or you don’t, love yourself and love that bod of yours. It’s the only one you have.

Happy eating!
Inara Hawley © 2016

Raw Sauerkraut ~ Probiotic Heaven!

4 Comments

Being European I grew up eating sauerkraut. My grandmother, bless her heart, was the one who supplied us with raw fermented cabbage. She made all manner of interesting pickles, including sauerkraut. We mostly ate it cooked, as a soup garnished with sour cream or as a side dish with pork. Both absolutely delicious, and while there is nutrition in cooked sauerkraut, as we all know, eating raw fermented cabbage is far better for one’s health, which is why I’ve decided to make it.

Health Benefits of Sauerkraut

A single serving of naturally fermented sauerkraut will not only restore your gut flora, it will give your body a bigger health boost than any probiotic drink or store-bought supplement. Being so probiotic rich, fermented foods are more easily digested. The fermentation process also increases certain nutrients, for example, sauerkraut has twenty times the bio-available amount of Vitamin C of raw cabbage. While fermented foods contain a high level of salt, therefore, best eaten as a condiment, the fermentation process cuts the sugar content of the food dramatically. All good news! Overall, fermented foods are a great support to immune function as they increase digestive enzymes, lactic acid, vitamins and omega-3 fatty acids, all of which aid in fighting off harmful bacteria in the body. For more specific health benefits of sauerkraut, you may like to visit Organic Facts.

What About Goitrogens?

In my reading about raw sauerkraut the only point to be aware of is that cruciferous vegetables, such as cabbage, contain high levels of goitrogens. These are substances that inhibit the uptake of iodine in the thyroid gland. This effect can be overcome by an increased dietary intake of iodine if the quantity consumed is only small. You can find a list of 22 iodine rich foods here. Cooking cabbage reduces the effect considerably, but as sauerkraut is a raw food it is not advisable to consume large amounts, particularly if your thyroid is compromised. If this is the case for you, you can add iodine based foods such as wakame or kelp to your sauerkraut recipe.

Making Raw Sauerkraut

Now, let’s get to how to make your sauerkraut. The short version is you shred the veg, add salt, squeeze the lot with your hands for five minutes to get a good puddle of brine, put it a sealed jar ensuring the contents are weighed down so the cabbage is completely immersed in the brine, pop it in a not-too-hot, not-too-cool spot, taste it occasionally, and wait from 1 week to 5 weeks depending on how tangy and crunchy you like your raw sauerkraut. Easy peasy! Now here’s the long version:

Naturally Fermented Sauerkraut

You Will Need:

  • 2 clean quart size wide-mouth glass jars with screw top lids
  • 2 clean small jars with no lids that will fit easily into the large jars
  • Baking paper

Ingredients:

  • 1 medium head of green or red cabbage weighing 2½-3 lbs or 1-1½ kilos
  • 2 carrots
  • 2 red apples – makes it sweet
  • 2-3 cloves of garlic
  • 1 tablespoon of salt which contains no additives
  • Optional additions: a few peppercorns, a bay leaf, sprinkling of caraway seeds

Method:

  • Discard the outer limp leaves of the cabbage. Remove and keep the next good layer for later use, then remove the core and slice the cabbage into thin ribbons. Peel and grate the carrots and apples, and crush the garlic. You will need 1¾ pounds or 800 grams of shredded vegetable in total. This is important as it corresponds exactly to the amount of salt you will be using.
  • Place the vegetables in a large bowl adding any optional flavourings.

Sunday Musings - How to Make Raw Sauerkraut

  • Sprinkle the mix with salt then squeeze the vegetables really well with your hands for about 5 minutes until you see brine forming. Cover the bowl with a towel, leave it for a few hours and repeat the process. By this time, you should have a good pool of brine.

Sunday Musings - How to Make Raw Sauerkraut

  • Now it’s time to pack it into your jars. Push the mix down firmly with your fist so that the vegetables are fully submerged in the brine.
  • Fold the baking paper about four times to the size of the bottom of the jar, place it on top of the vegetables and then put in the small jar, bottom down. You want the small jar to stick out of the top a little so that when you screw down the lid it pushes the vegetables down even further and ensures they are completely covered with brine. If you don’t want to use the small jars, you can push the vegetables down by filling the large jar with the best outer leaves of the cabbage until the sauerkraut is packed tight and covered with juice.

Sunday Musings - How to Make Raw Sauerkraut

The Fermentation Process

  • While air is a no-no for the fermentation process as it allows bacteria and mould to grow, you may have to screw the lid on loosely if there is only a small space between the vegetables and the top of the jar to allow any gases to escape. You may even need to pour out some brine if it overflows. This didn’t happen to me as my jars were larger than the recommended quart size and I had plenty of room for bubbling and rise and fall of brine.
  • Next, put your jars on a tray to catch any overflow, and then place it all in a spot with a fairly even temperature. The ideal is between 18-23 degrees Celsius or 65-75 degrees Fahrenheit. The brine will rise and fall with the temperature. Note that the higher the temperature, the quicker the fermentation.
  • If you’ve never done it before, watching it all is very exciting. During the first week is when the bubbling happens. After that, it settles down. Just make sure the cabbage mix is completely immersed in brine. If you notice the level of brine has fallen below the vegetables, dilute a tablespoon of salt in 2 cups of water and pour some over until the mixture is just covered.
  • If you see any mould, throw it all out immediately and start again. It’s never OK to scrape it out and keep going as many recipes recommend. There is more to mould than just what you see.
  • Start checking your fermentation for flavour after the first week. You can begin eating it anywhere from one week to four weeks. I decided to let mine go for five weeks. The longer it goes, of course, the more beneficial bacteria you will have. Once you are satisfied with the flavour, take the little jar and the paper out or the large cabbage leaves out, label it and put it in the fridge to stop the fermentation process. It keeps for a very long time, but it’s so delicious, it definitely won’t last for a very long time.

Raw Sauerkraut - Sunday Musings

  • Once you are comfortable making it you can begin to get a bit creative by adding different vegetables and flavours such as horseradish, turmeric, beetroot, ginger, fennel, hot peppers, onions, leeks, fresh herbs, raisins, currants, cinnamon, allspice, and lemon juice.

How to Eat Sauerkraut

And when it’s all done, it’s time to start eating it. The lovely tangy flavour goes with just about everything. It’s great in salads ~ really good if you add raisins as well. Also in hamburgers, hotdogs and sandwiches ~ goes very well with cheese, egg or tuna. It’s also delicious mixed with cooked vegetables, with an omelette as below, as a topping to soups, stews or pizzas, with sausages, added to Japanese nori roll fillings, or just as a condiment on your plate with a meal.

Sunday Musings - How to Make Raw Sauerkraut

So enjoy, and if you try any fabulous new varieties, please let me know in the comments below!

♥ Inara Hawley © 2016

Almost Vegetarian

2 Comments

Years ago I could never have imagined it, but here I am today, an almost vegetarian. I say ‘almost’ because I still eat fish occasionally. If I have guests it’s generally what I serve up, but mostly I live on vegetables, eggs, tofu, chickpeas, nuts, seeds, and all the other lovely foods that make up a vegetarian diet, and I love it. They’ve turned out to be my favourite things to eat, and I think they are delicious and scrumptious.

About ten years ago I stopped eating red meat as a staple in my diet, and then later chicken. I didn’t set out to become almost vegetarian. At the time, it wasn’t a choice of conscience though it is something I’ve considered, especially as there are so many wonderful plant-based foods on the planet. The truth of it is I noticed that I felt a whole lot better when I didn’t eat meat or chicken, and after a while, a whole lot happier to let the animals be.

When I was a child, for a time, my parents kept chooks. As our backyard was always full of animals, my young heart connected to every one of them, and as far as I was concerned they were all my pets. The chooks, of course, provided us with lots of lovely eggs, but when I discovered it was our chickens, which graced the table every Sunday, I was outraged and flatly refused to eat them. I can’t remember how long I held out, but I was resolute while I did. It wasn’t too long after that my mother started work and the chickens disappeared, and I forget all about them. And so, as many of us do, I grew up eating meat, and lots of it.

But my digestive system just can’t handle it anymore, and so for me, almost vegetarian it is! Needless to say, Hubby and I eat completely different food, but it’s all good. We both thoroughly enjoy our individual tucker, and that of course, is the most important thing ~ to have a good relationship with your food. And so to the reason for this post ~ I’d like to share the joy of two of my favourite recipes ~ my sweet chilli hommus and my very lemony cashew balls. Both delicious! If you make them, I hope you enjoy them.

Sweet Chilli Hommus

Sweet Chilli Hommus - Sunday MusingsSweet Chilli Hommus - Sunday Musings

Ingredients:

  • 2 cups of fresh, cooked chickpeas, cooled, drained and skinned
  • 2 decent sized cloves of fresh pressed garlic
  • 1/2 cup of good quality extra virgin olive oil
  • 1 tablespoons of sweet chilli sauce
  • 1 tablespoon avjar (red pepper paste – mild or hot)
  • 1/3 cup of tahini (sesame) paste
  • Juice of 2 good sized lemons
  • Good pinch of ground coriander
  • Good pinch of ground cumin
  • Good pinch of salt

Method:

  • Skin the chickpeas by pinching them lightly between your thumb and index finger until they pop out of their thin shell. This takes quite a bit of time and can be tedious. It’s a job I do in front of the telly. I cook a whole bag of chickpeas, skin the lot and freeze what I don’t use for next time.
  • The next bit is easy ~ put all the ingredients into a blender and puree. I use a stick blender with the bowl attachment, and it works very well though you might get a smoother consistency in a high-speed blender.
  • Season further if required, but I never need to. It’s always perfect for my taste.

Very Lemony Cashew Balls

Lemon Cashew Balls - Sunday MusingsLemon Cashew Balls - Sunday Musings

Ingredients: Makes 36 balls  

  • 1½ cups cashews
  • 1½ cup desiccated coconut
  • 1-2 lemons zested and juiced
  • 1/4 cup rice malt syrup
  • 1/8 cup maple syrup
  • 2 tbsp soft coconut oil
  • 1 tsp vanilla essence
  • A pinch of rock salt

Method:

  • Blitz the cashews in a food processor until they are the texture of tiny rocks. Don’t over-blend or you will get cashew butter.
  • Add the remainder ingredients and blitz until the mix just comes together.
  • Roll into balls and coat in more desiccated coconut.
  • Place the balls in the fridge to firm up for at least 2 hours.

The bottom line is: enjoy your food and eat what makes you feel good.

Cheers and Enjoy!

Inara Hawley © 2015

New Winter Cook-ups

2 Comments

It’s spring here now and everything is all very beautiful and green outdoors. But while the fruit trees just outside my kitchen window are bursting with the beginnings of peaches, plums and apricots, here in the high country of New South Wales it’s still rather coolish and warming foods are very much, part of our daily tucker. So before it starts really hotting up I thought I would sneak in a quick winter recipes post.

Fruit Trees - Sunday Musings

Two things are important in my kitchen ~ whatever I cook has to be easy and I don’t like cooking the same thing over and over. To that end, it was time to find some new recipes for Hubby. He loves soup, especially the blended kind, but cooking the same old, same old all winter long ~ even though he loves it ~ was starting to drive me to distraction. I mean, how many bowls of pumpkin or potato and leek soup can one have and still be in raptures over how delicious it is. Certainly not me! So it was time to add to the old favourites.

Even though I’m not overly keen on blended soups myself, I have to like whatever I cook. And they also have to be good enough to whip out of the freezer and serve up to guests at a moment’s notice if necessary. So, with all of that in mind I created these beauties, and they are all delicious. As with everything I cook, I start out with a recipe and then tailor it to my taste. So here they are ~ my versions of four new winter soups.

Beetroot Soup
Beetroot Soup - Sunday Musings

This is a delicious soup, and would go very well served with blinis and cream cheese.

Ingredients:

  • 40g of butter
  • 1 onion, chopped
  • 1 potato, chopped
  • 1 carrot, chopped
  • 1 bay leaf
  • ½ litre vegetable stock
  • ¼ cup water
  • 500g canned beetroot drained and chopped ~ I have used both baked beetroot and canned. I prefer the baked version, but hubby prefers the canned, which has more of a tart flavour.
  • 1 dessertspoon of sugar – add to taste
  • Salt and pepper to taste

To Serve:

  • Sour cream or thickened fresh cream
  • Chopped chives

Method:
Heat butter in a saucepan over medium heat. Add chopped onion, carrot and potato, and cook till softened. Add bay leaf, stock and water. Bring to boil and cook till vegetables are tender. Add the chopped beetroot and simmer for a few minutes. Blend after removing the bay leaf, however, if you like a thicker soup, take out about 250mils of the liquid before blending. You can always add it back if you need it.  Serve with cream and chives.

Broccoli and Blue Cheese Soup

Broccoli and Blue Cheese Soup - Sunday Musings

This is a very up-market soup ~ a great dinner party starter with a bread roll and crisp white wine.

Ingredients:

  • 2-3 large heads of broccoli cut into small pieces
  • 150g soft blue cheese with the skin removed
  • 2 chopped leeks
  • Butter for cooking leeks
  • 2 cups milk
  • Vegetable stock powder

Method:
Cook broccoli in a small amount of water until tender, set aside the liquid for later. You could use frozen broccoli, but I haven’t tried it as I prefer fresh vegetables. Next sauté the leeks in butter and add the milk. Break up the cheese, add it to the pot and heat through till it is fully melted. Don’t allow it to boil. Add vegetable seasoning to taste then, add the cooked broccoli and blend. If required, add back some of the cooking liquid.

Cauliflower Soup

Cauliflower Soup - Sunday Musings

This soup is good country food. Very hearty and delicious, and goes well with pasties or sausage rolls.

Ingredients:

  • 2 heads of cauliflower cut into small florets
  • 2 potatoes, roughly chopped
  • 2 cloves of garlic
  • 2 shallots or one large onion
  • 2 tablespoons of olive oil
  • 6 cups vegetable stock
  • Salt and pepper to taste
  • Cream for serving if desired

Method:
Preheat oven to 350F or 180C. In a large baking pan, toss cauliflower, potato, garlic and onion in olive oil and roast for 25-35 minutes. Place all baked ingredients into a large pot with the vegetable stock and simmer for 20 minutes until the vegetables are very tender. Blend, and add salt and pepper to taste. Serve with a swirl of cream and crusty bread.

Creamy Mushroom Soup

Mushroom Soup - Sunday Musings

This one is just too easy and very delicious! Serve with crusty wholemeal bread rolls.

Ingredients:

  • 75grams butter
  • 2 leeks or 2 brown onions halved and coarsely chopped ~ I prefer leeks.
  • 2 cloves of garlic, crushed
  • 2 tablespoons coarsely chopped fresh thyme
  • 1kg Portobello mushrooms or the large flat variety coarsely chopped
  • 6 cups vegetable stock (4 cups for a thicker soup)
  • 1 cup of thickened cream, plus extra to serve
  • Salt and pepper to taste
  • Ground nutmeg to dust

Method:
Melt half the butter in a saucepan over medium heat until foaming. Add the leek, garlic and thyme and cook, stirring until tender. Add the remaining butter and the mushrooms and cook, stirring for a further 5 minutes or until the mushrooms are soft. Add the stock and bring the mixture to boil. Reduce the heat to low and simmer covered for 20 minutes, then blend. Add cream and reheat on low. Serve with a swirl of cream and crusty bread.

So enjoy folks! Hubby certainly wolfed them down with a great deal of gusto!

Cheers!

Inara Hawley © 2015